Loading...
play.crusalis.net
Click to copy IP
We host our war sessions 1-4PM EST saturdays with occassional exceptions and special events.
Expect seasonal/iteration based war rules updated and displayed here
CURRENTLY ACTIVE RULES FOR MEDIEVAL CRUSALIS SEASON: https://docs.google.com/document/d/1XXrGHXC45924MTmKGmjUiFZUjYZCgQLo_00VaPZ-Ib0/edit?tab=t.0#heading=h.ut8q5013539h
First and foremost you can only start attacking a node during an ongoing war session.
Wars are held every saturday 1-4PM EST with occassional exceptions and special events.
To start attacking a node you must meet following criteria;
1. Be in a state of war with the current holder of the territory
2. You or your allied state must share a border with said territory
3. The territory must share a border with the ocean/wilderness if criteria 2 is not met.
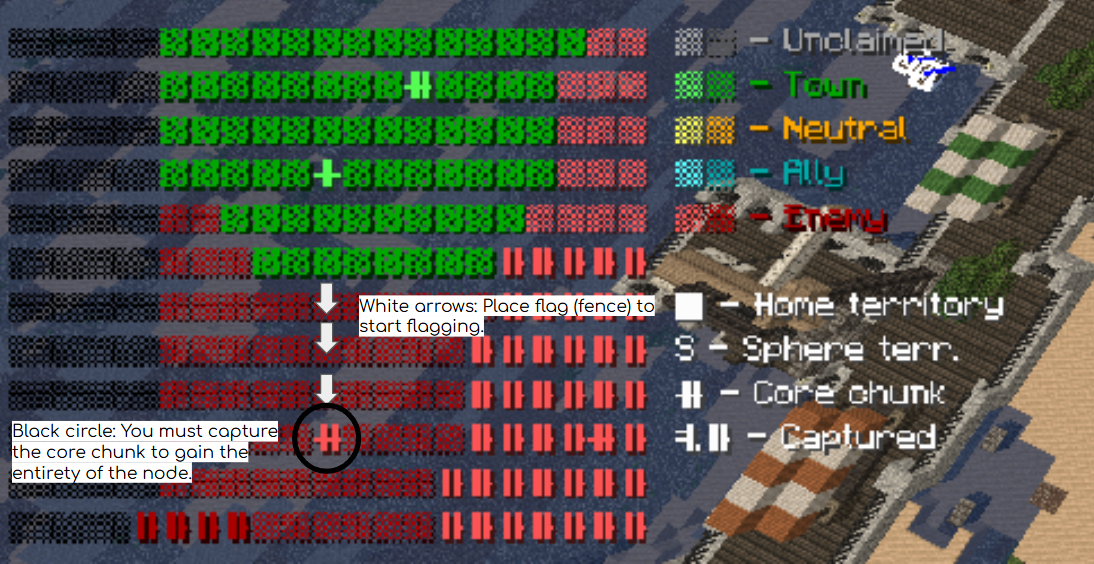
To completely take over the entirety of the node you must advance chunk by chunk and capture its chunk core symbolized by this symbol ╬.
Each node will take a certain amount of time to capture per chunk. Nodes that border a large body of water will generally speaking have a longer capture/flagging time than inland regular nodes.
Well developed and built up nodes will have increased attacking time based on its tier/level
Check https://www.crusalis.net/docs/nodetiers/ for more information on node/territory levels
Crusalis runs a full custom vehicle system built for the Rise of Rome season. These aren’t boats you sit in alone — they are crewed warships, siege engines and mounts that you place, board and command together. One player steers from the driver’s seat while the rest of the crew man the oars and the weapons.
See them in action:
Oared warships for naval battles and coastal raids — and your ride on the trade network: sail one up to a port to fast-warp between ports (see Markets & Trade).
Crewed artillery for cracking open fortifications during war:
Place the vehicle from its item, take the driver’s seat to steer, and have your crew fill the remaining seats — on warships the extra seats crew the ship, and on siege engines a gunner mans the weapon. Vehicles take damage and can be wrecked, so protect your crew and your hull.
Crusalis runs a fully custom combat system, so weapons are far more than reskinned vanilla gear. Every weapon has its own damage, reach and swing speed, and most carry a special alt attack (a passive trait or a right-click ability) on top. Many also scale against armour weight or hit harder on horseback, so picking the right tool for the fight matters. We are currently in the Rise of Rome season, so the arsenal is drawn from antiquity — blades, spears, throwing weapons, bows, shields and cavalry. There are no firearms this season.
Most weapons are produced through the in-game crafting Factory and its blueprints — those are marked 🔒 Factory locked below. A handful instead have their own crafting-table recipe, marked ✔ Custom recipe. Damage values and abilities can change with balance patches.
A few extra blades (Gladius, Xiphos, the Dory cavalry spear and the Buckler) are craftable but still being balanced — check them in-game for current stats. The Bandage is a healing item, not a weapon.
Crusalis Node Guide
An informational guide to nodes
Nodes are a large chunk of land/territory with a designated core that symbolizes the middle of the node.
Each node is designated a type of resource that will generate in your /t income every hour even if you're offline.
To gain more resources from a node it must be upgraded; check out Node tier & sweep guide.
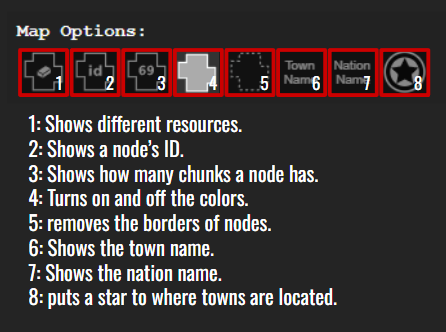
Dynmap is a website that allows anyone to look at the live map. It provides strategically valuable information such as how many nodes a nation has, resources of each node, populations of individual towns, and many more.
hhhhhhhhhhhhhhhhhhhhhhh
1. Declare war on a nation and flag their nodes during an active war session, check out War System.
2. Compromise with other nations via diplomacy.
3. Special staff ran events.
/t map: Shows you an enlarged area of a node that you are standing on.
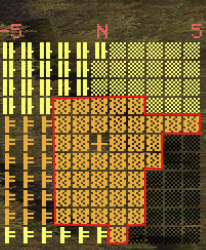
/t minimap: Gives you a 11x11 chunk map that shows you node chunks and core, you are recommended to keep this on for an optimal gameplay experience.
/nodes help: Gives you a list of other commands related to nodes.
/t annex: Annexes a node fully during war, prevents enemies from breaking and placing. (ONLY LEADERS AND OFFICERS CAN USE THIS COMMAND.)
/t income: Opens up an inventory space of all the resources generated by nodes.
/nodes territory: Shows specific information attached to node currently standing in.
The Ultimate Guide To
Nodesweep & Node tiers
This serves as a guideline to assist builders and groups, rather than a set of strict requirements.
Nodesweep is the process of staff evaluating different nodes submitted by nations. These evaluations assess the build quality, quantity, and historical or theme accuracy. The results are expressed as a tier number on a scale of 1-10; 1 being poopoo or the bare minimum of a town, and 10 being a perfect town with no flaws. These tiers only apply to a singular node irregardless if builds stretch over multiple nodes.
Nodes with high tiers will have an increased cap timer per chunk, this means it will take longer for enemies to take over your node. This enables your nation to last longer in skirmishes & war.
Depending on the iteration, certain gameplay mechanics will be locked behind tiers. This mainly refers to recipes for certain weapons or siege equipment. For example, the WW1 iteration had vehicle recipes such as tanks, planes, and ships locked behind a tier 4 requirement, whereas the Medieval iteration had different kinds of workshops that would give access to catapults, stronger weapons, faster horses and more, only accessible in higher tiers.
Nodes with high tiers will have an increased income relative to their tier, meaning it is important to develop the correct nodes. For example, a diamond node with a high tier will have an increased diamond income to the nation.
Nodesweeps will use terms such as high tier x or low tier x. While these have no direct impact on any of the benefits mentioned in ‘Purpose of Node tiers’, they will serve as an indicator on how far or how close any given node is from the next tier.
For example, a high tier 6 node indicates that the node is close to reaching tier 7, and only needs minimal improvements to reach that goal. A low tier 6 would indicate that the node barely reached that tier and would require a great amount of improvements to reach tier 7.
In order for Nodes to receive a good tier, it needs to be realistic in the sense it’s accurate to the theme of the iteration. Town locations need to be roughly accurate to where they would be placed in real life, with historical landmarks being built in respect to the time period of the iteration. For example, Paris built in a WW1 theme, would be expected to have the Eiffel Tower alongside any other historical landmarks that could be found from doing research. Effort placed into making good historical landmarks will be rewarded with a boost in tiers.
The size of your town is very important, as often you’ll be expected to either build within the confines of your node or further out depending on the node size. This document will assess this in 3 different areas: islands, small nodes, and large nodes.
Islands are often small and very limited in space, with no surrounding area to expand into. This means that in order to achieve high tiers, players will need to make the most use out of the space they’re given, by cramming in as many details and builds as possible, with the highest attention to detail.
Smaller nodes, whilst better than islands, still have a limited space to build in. This means that players will be expected to expand outwards into surrounding nodes to gain the best tiers possible, in which they will specify in their Nodesweep application which node will receive the tier.
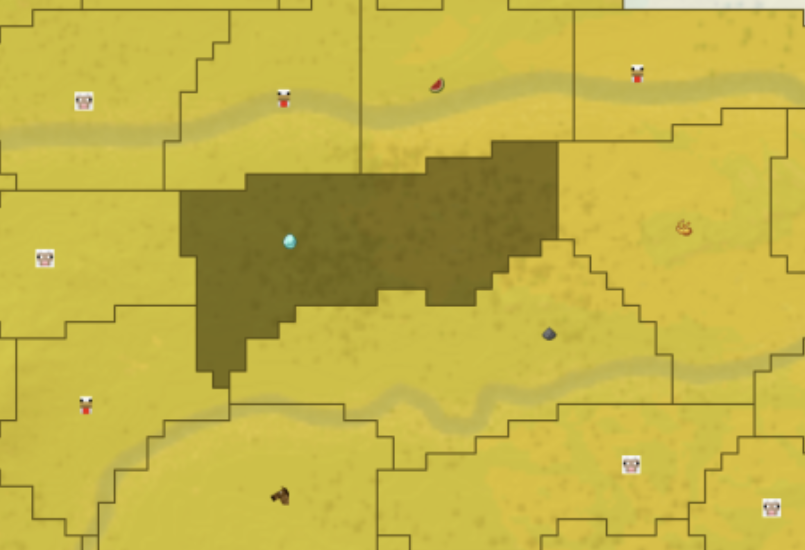
Larger nodes are the most ideal for building. In order to receive the best tiers possible, players will be expected to fill out the majority of the node with town buildings, historical landmarks or defenses. While players may still need to build outward into surrounding nodes, this will be on a much lesser scale compared to building from a smaller node.
The quantity of buildings that make up your town is equally important to the quality of your town; players need to be able to balance these two aspects.
Nodesweeps evaluate the town feeling, meaning that if a player were to walk through the streets, would it feel like they were walking through a real town? In order to accomplish this feeling, multiple homes, markets, unique structures (such as forts, workshops or the earlier mentioned historical landmarks) and defenses need to be made. A good mindset in approaching this would simply be to think about what any given town would realistically need.
It is important for towns to make players/nodesweepers feel as if it’s lived in, where if said player/nodesweeper were to walk in the town, it would feel as if it were an actual town that could exist. In order to do so, buildings need to be closely crammed together rather than spread out like plots, with streets filled with decor rather than empty roads, and large unique/historical buildings rather than just simple house spam. Towns, when possible, should also follow realistic and accurate town planning 100%. Furthermore, town layouts should be logical. For example, any given city would not have farmland inside its walls mixed in with actual housing districts, but rather outside.
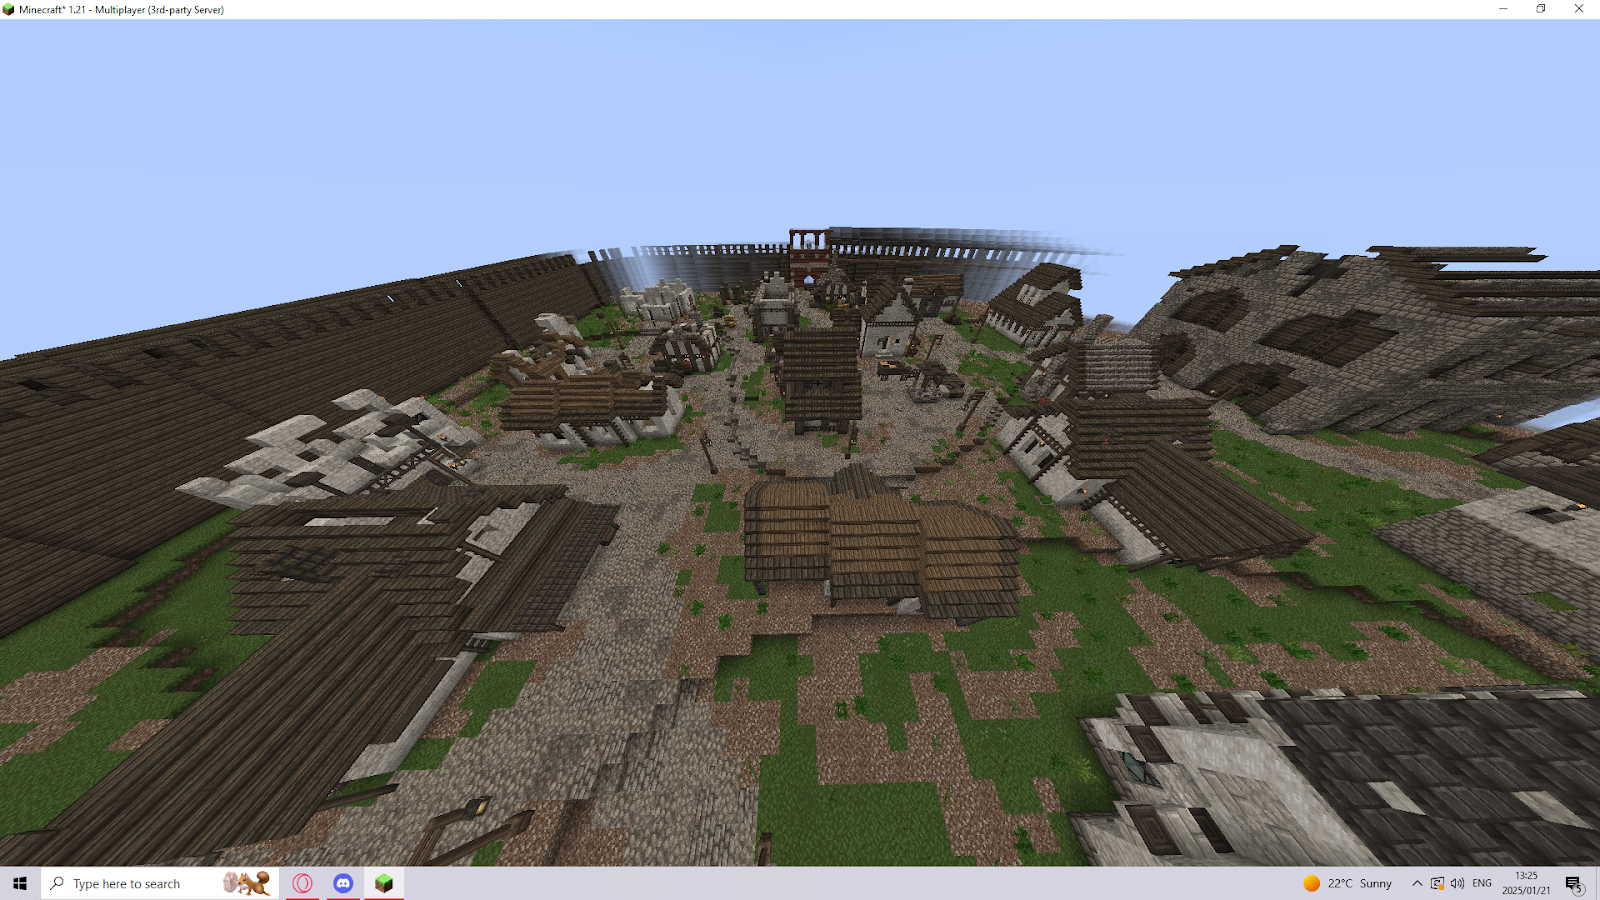
Example of a low quality town layout Example of a high quality town layout
In order to get the best tiers possible for any given Node or town, players need to invest a lot of time, resources and effort into builds to make the quality as high as they can. This involves making high quality homes/buildings, walls/defenses, and interiors or street decor.
This section will assess the difference between low quality and high quality in different areas that can be found in any town.
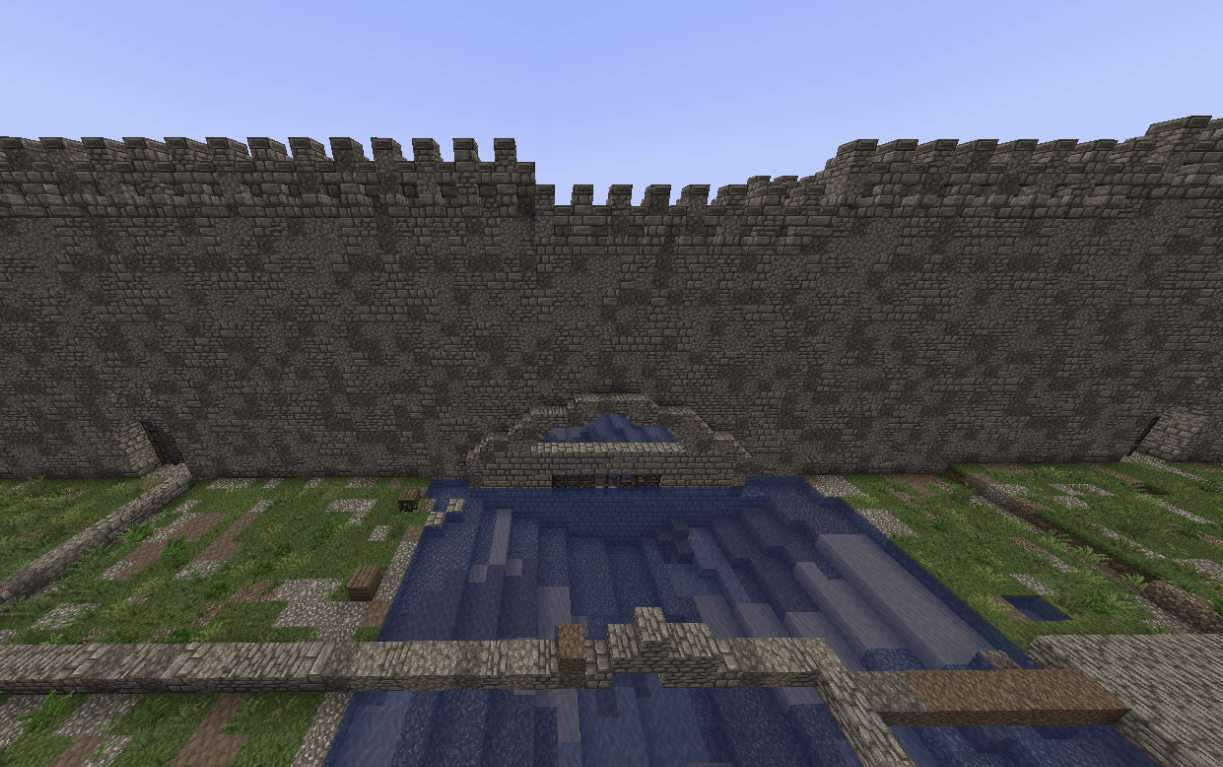
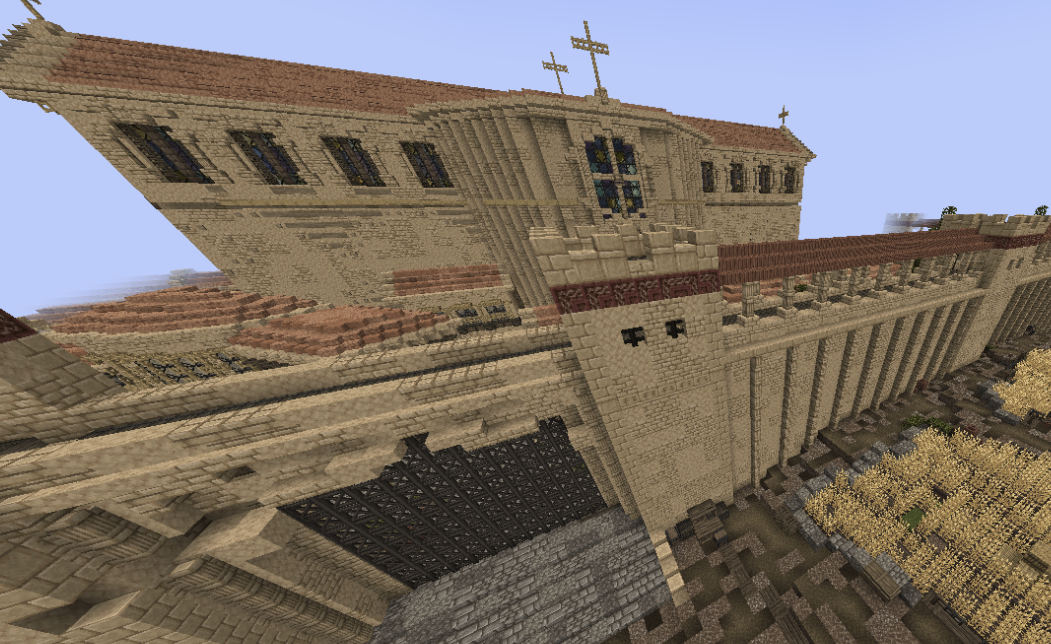
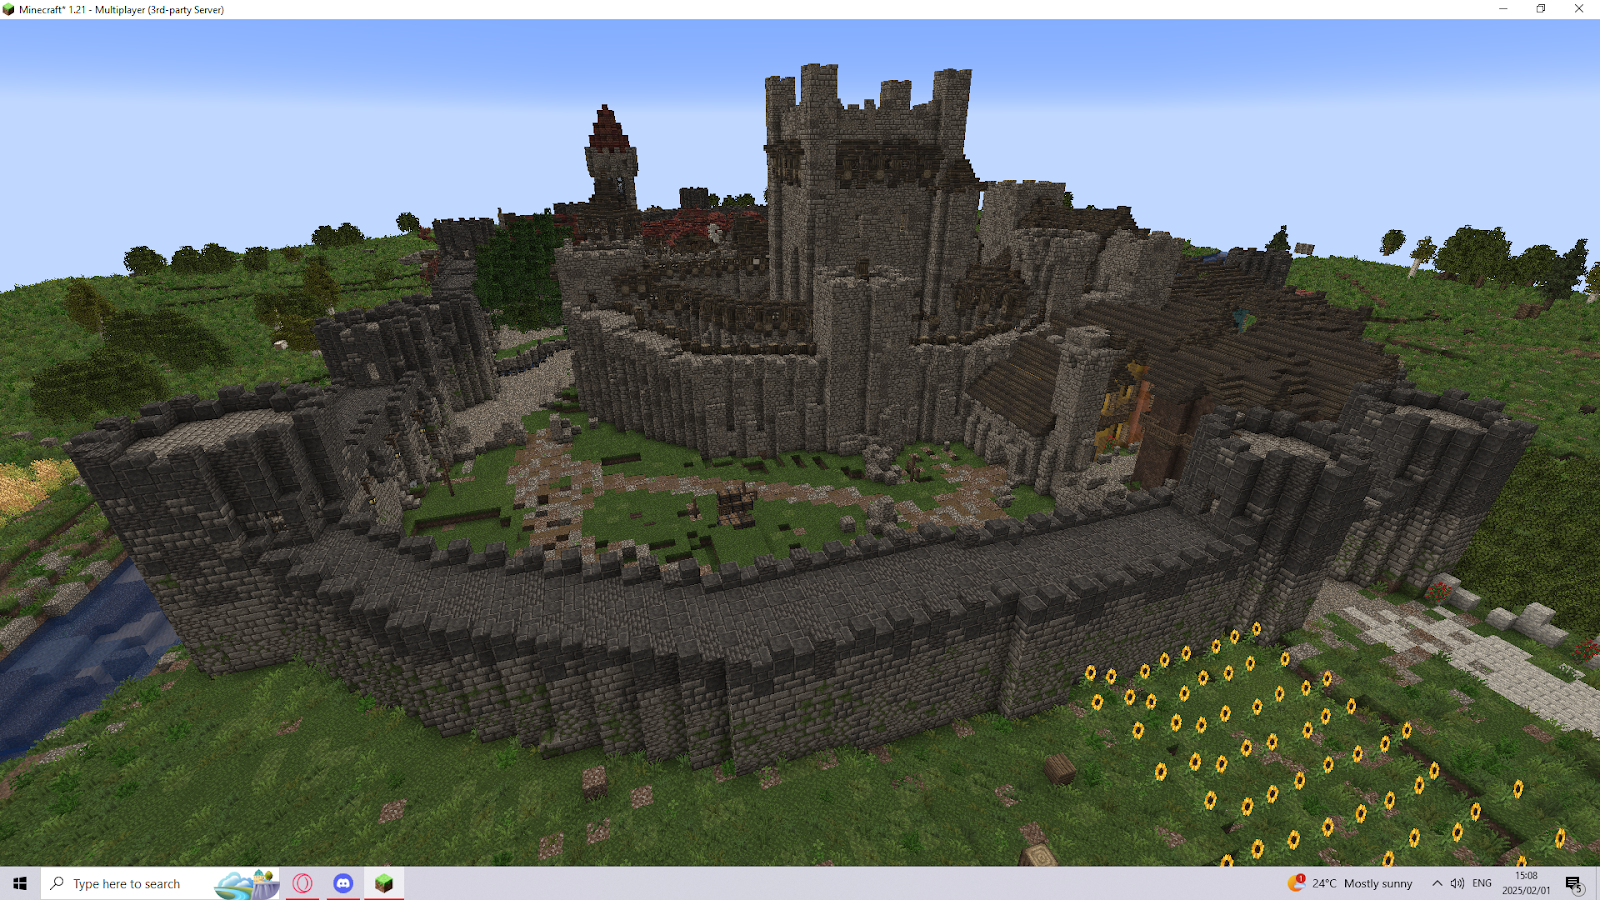
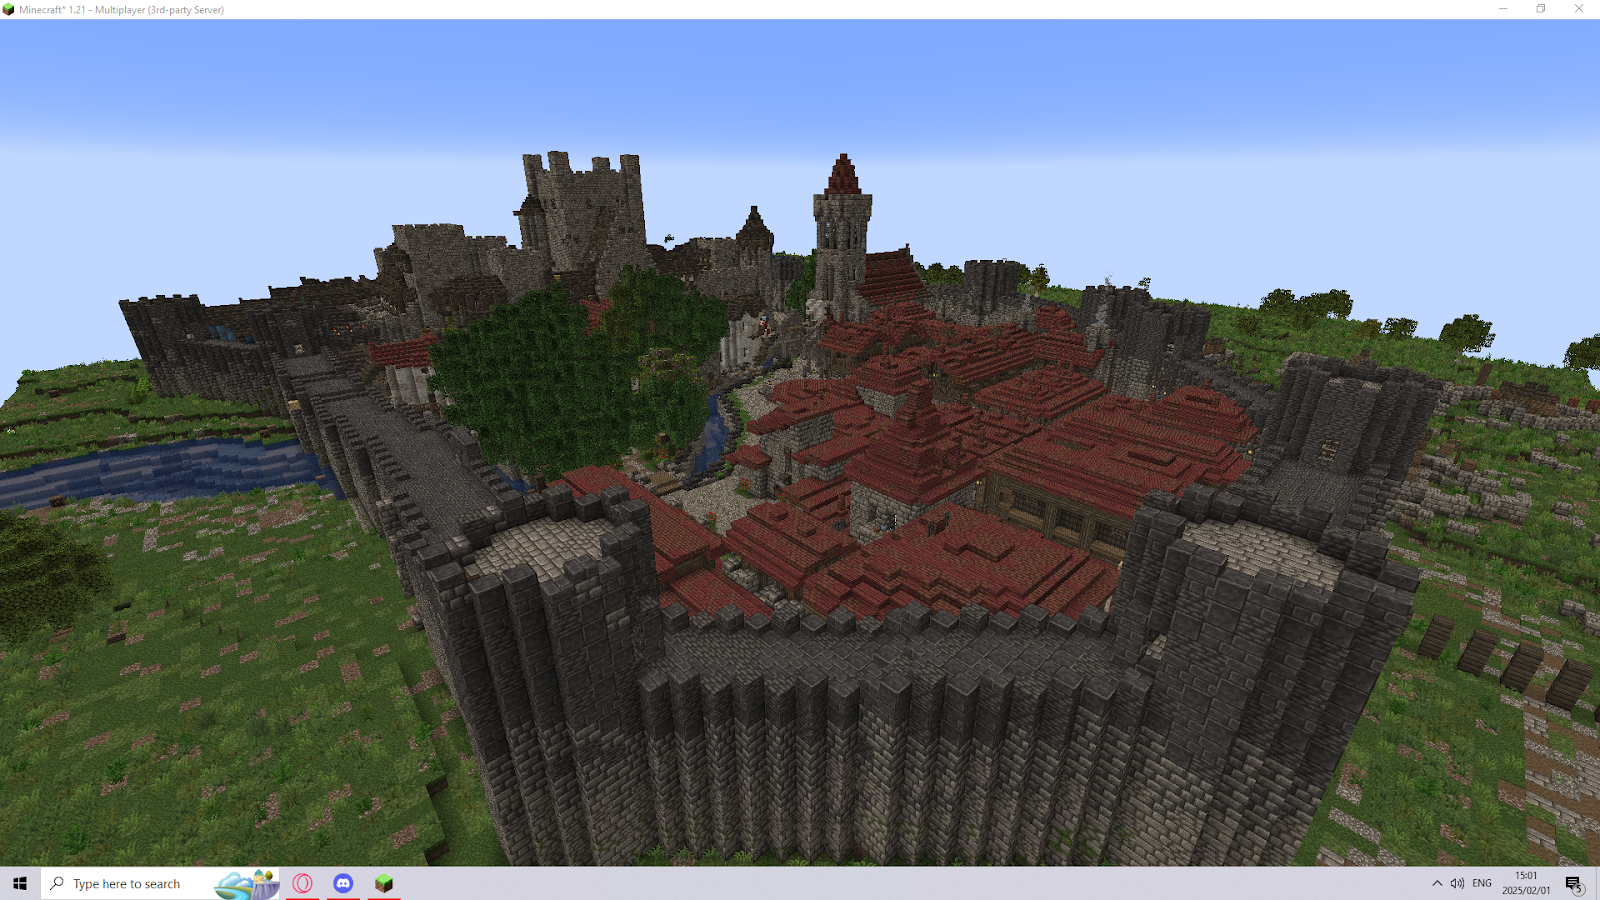
Every town on the server will build some form of defenses or walls to protect the node. However, these builds will always have an impact on your Node tier, which makes it important to ensure that the quality of these defenses are high. In no case should any wall be completely flat or lack dimensionality. Players should put a great deal of care into making their walls both realistic and appealing, rather than opting for a flat cobblestone wall that lacks any depth or design.
The first example showcases what is considered to be a low quality wall/defense. Whilst the wall itself is textured, it lacks a lot of elements that would make it more appealing to look at. For example, in the 2nd image, a larger and more intricately designed entrance is built. The guard towers and the usage of pillars on the wall make it appear less flat, which make the wall overall more appealing to look at.
Example of a low quality wall Example of a high quality wall
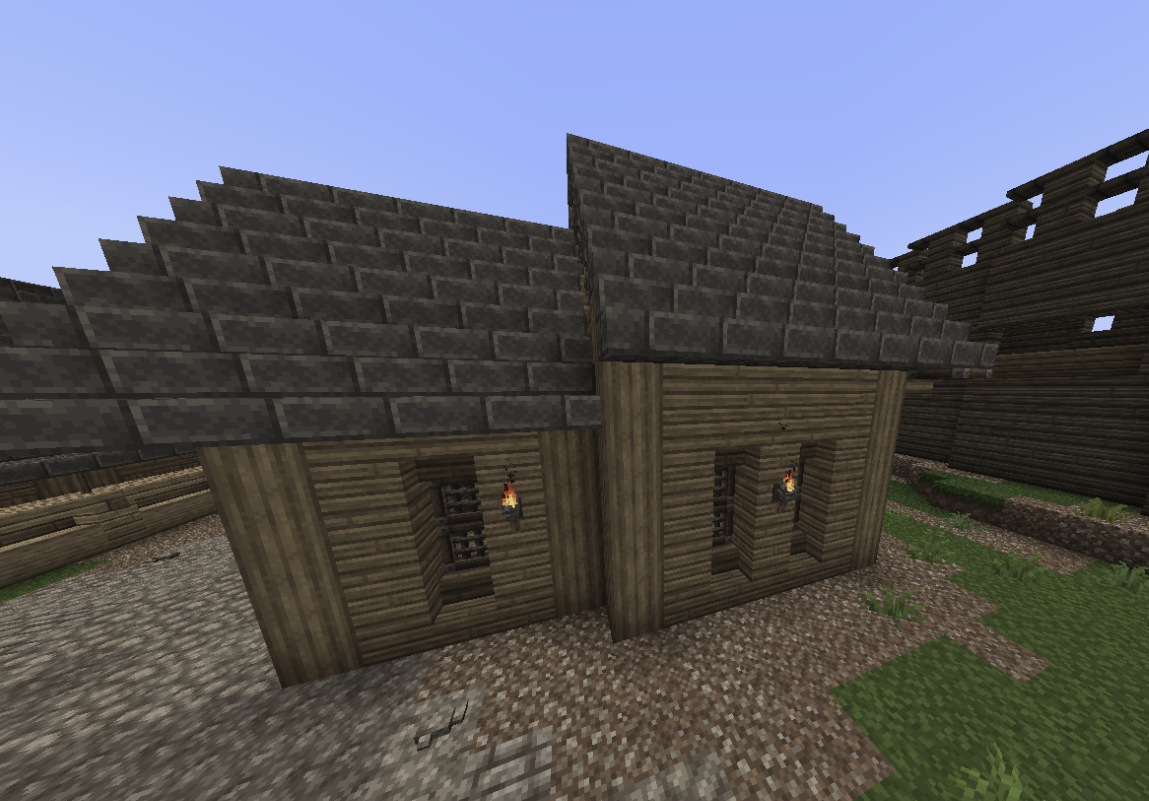
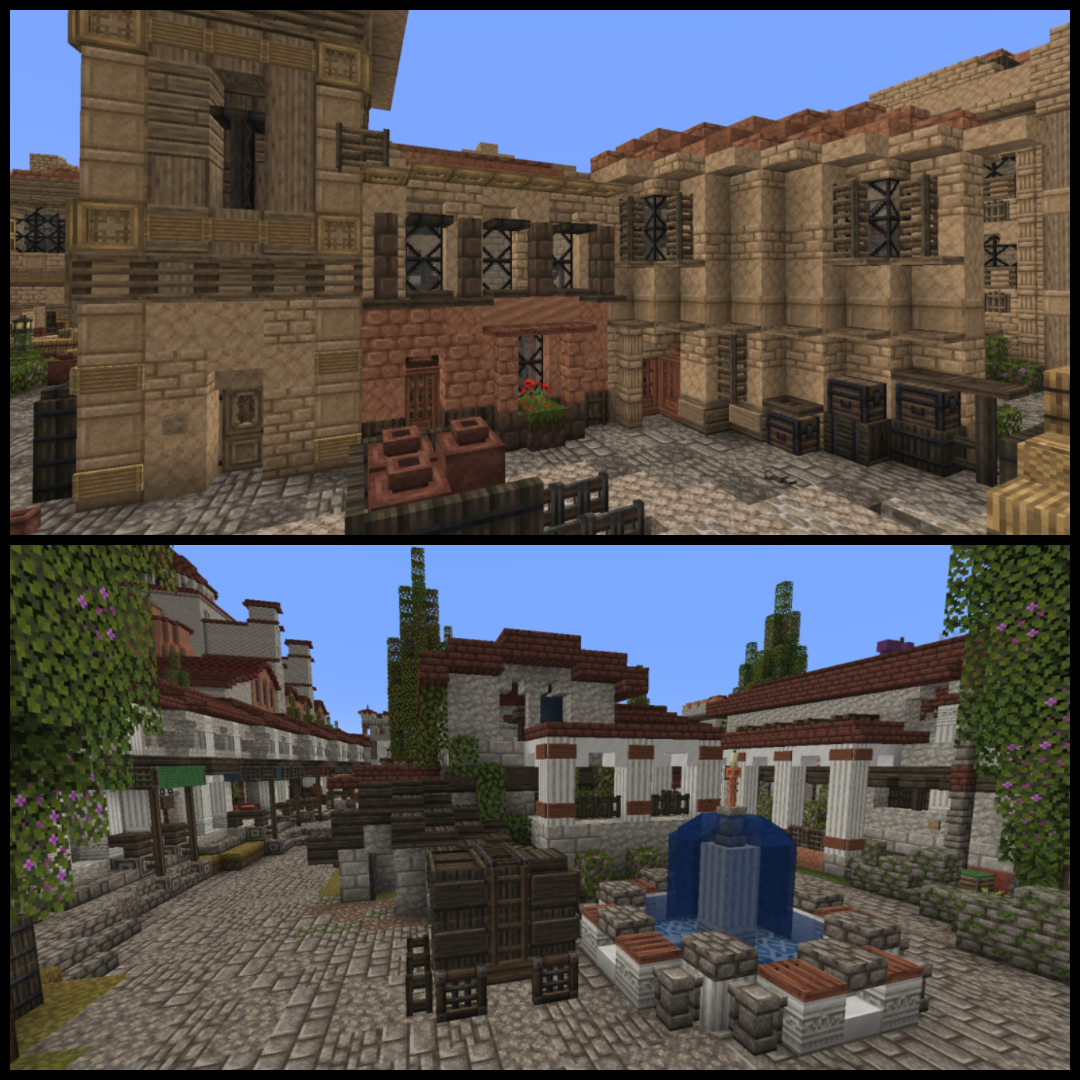
The exterior of your builds will always be the first thing that nodesweepers look at, thus making it incredibly important to ensure that your exteriors look high quality. This can be done through the usage of accurate designs for the type of builds you’re making, texturing, the usage of clutter outside houses to make the build look less flat, etc. Each individual building should also have a unique feel and identity to them. This means there should be different types of homes, stores, etc. which will allow players to get the highest tiers possible.
The first example showcases the bare minimum for a ‘basic’ home, the walls are flat with a simple palette. It lacks clutter outside that makes it feel as if someone lives in it.
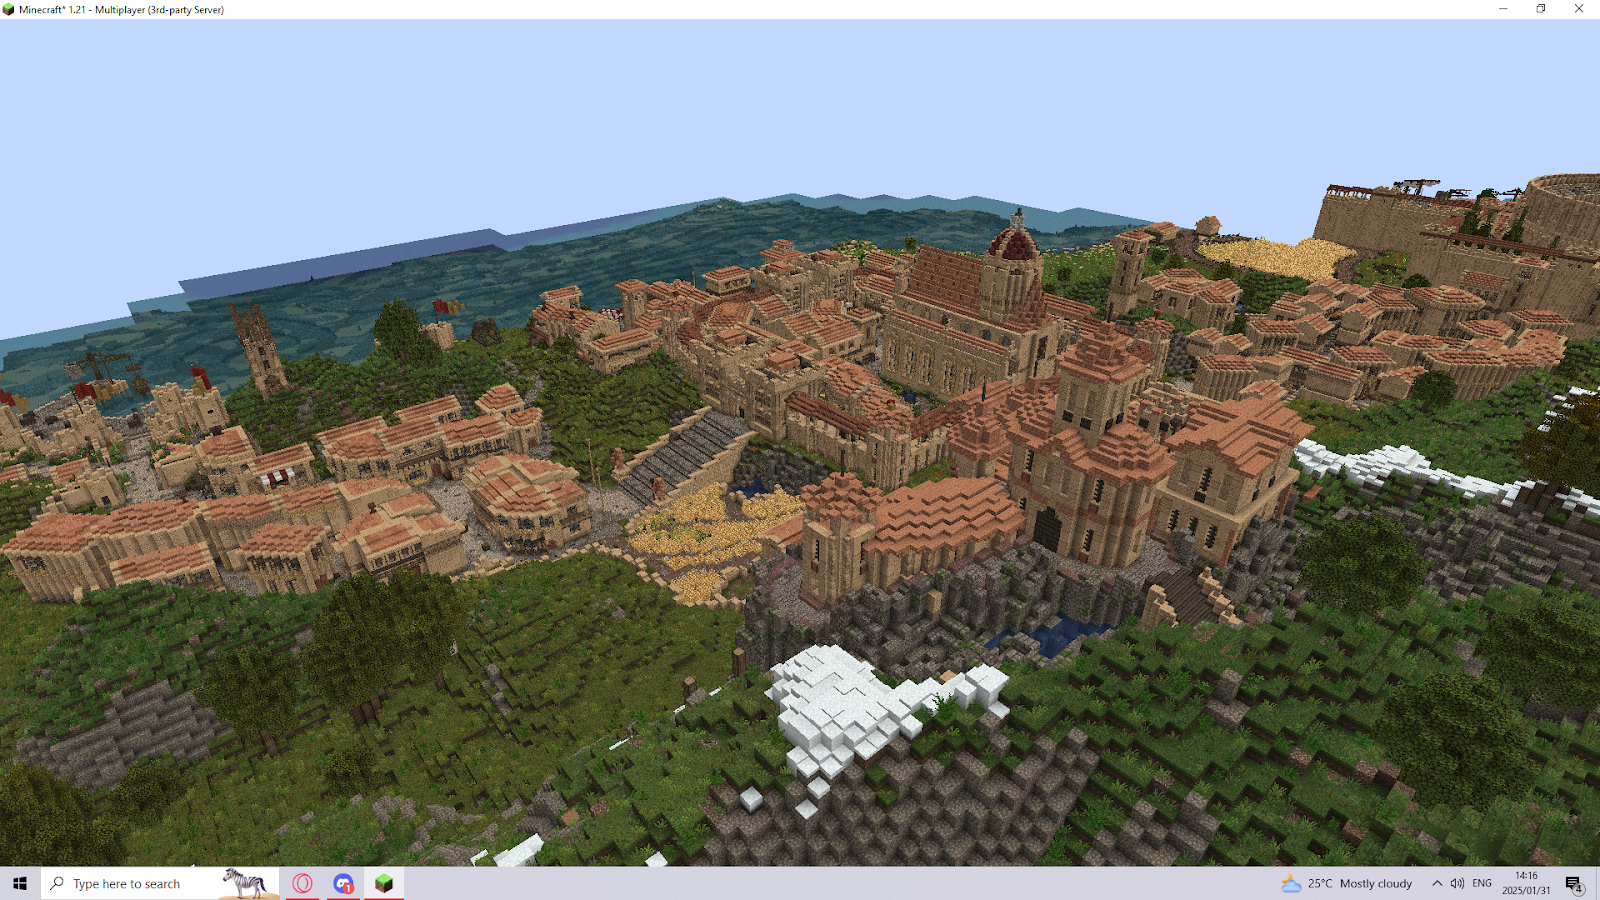
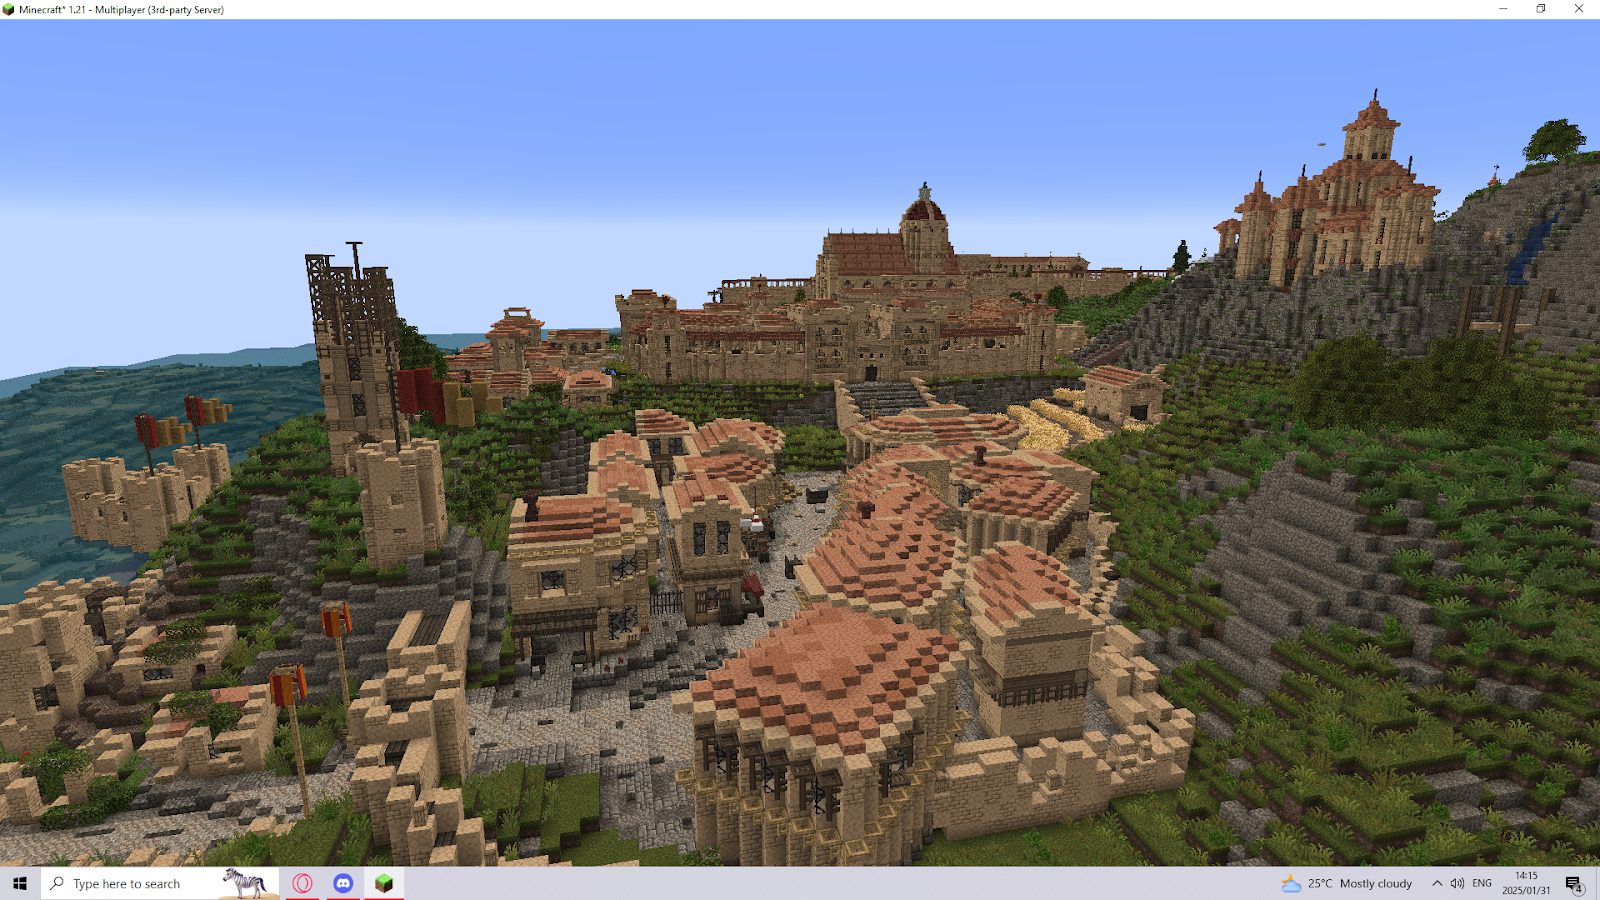
In the second example, both images showcase homes which blend into the town, they’re accurate to the time period and architectural style (Roma & Byzantine), feature a good attention to detail in its design with the usage of texturing and clutter outside the actual buildings.
Example of low quality exterior Example of high quality exterior
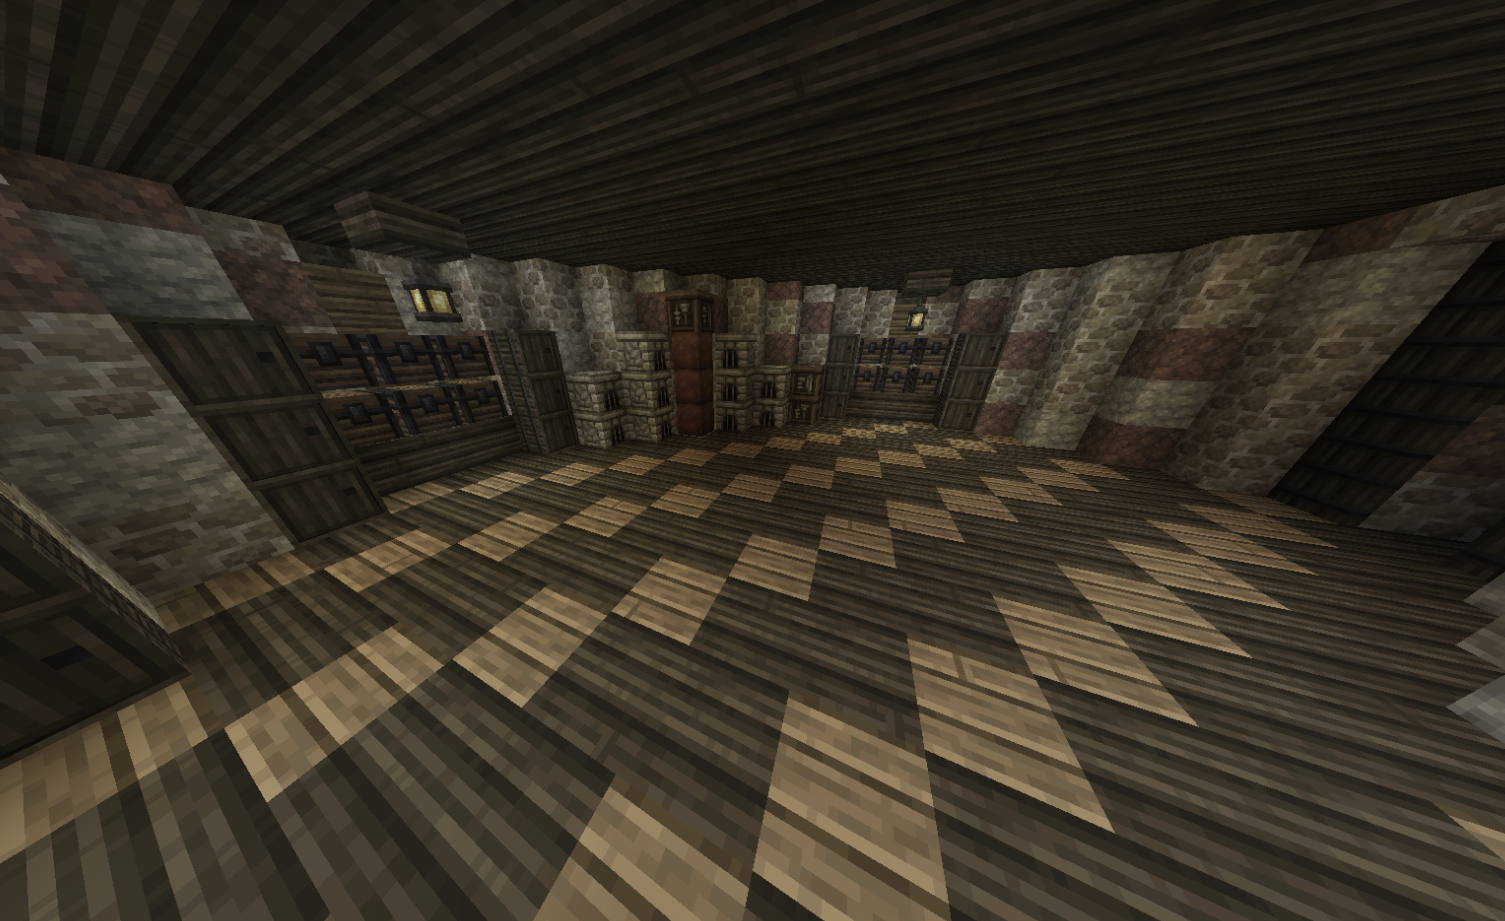
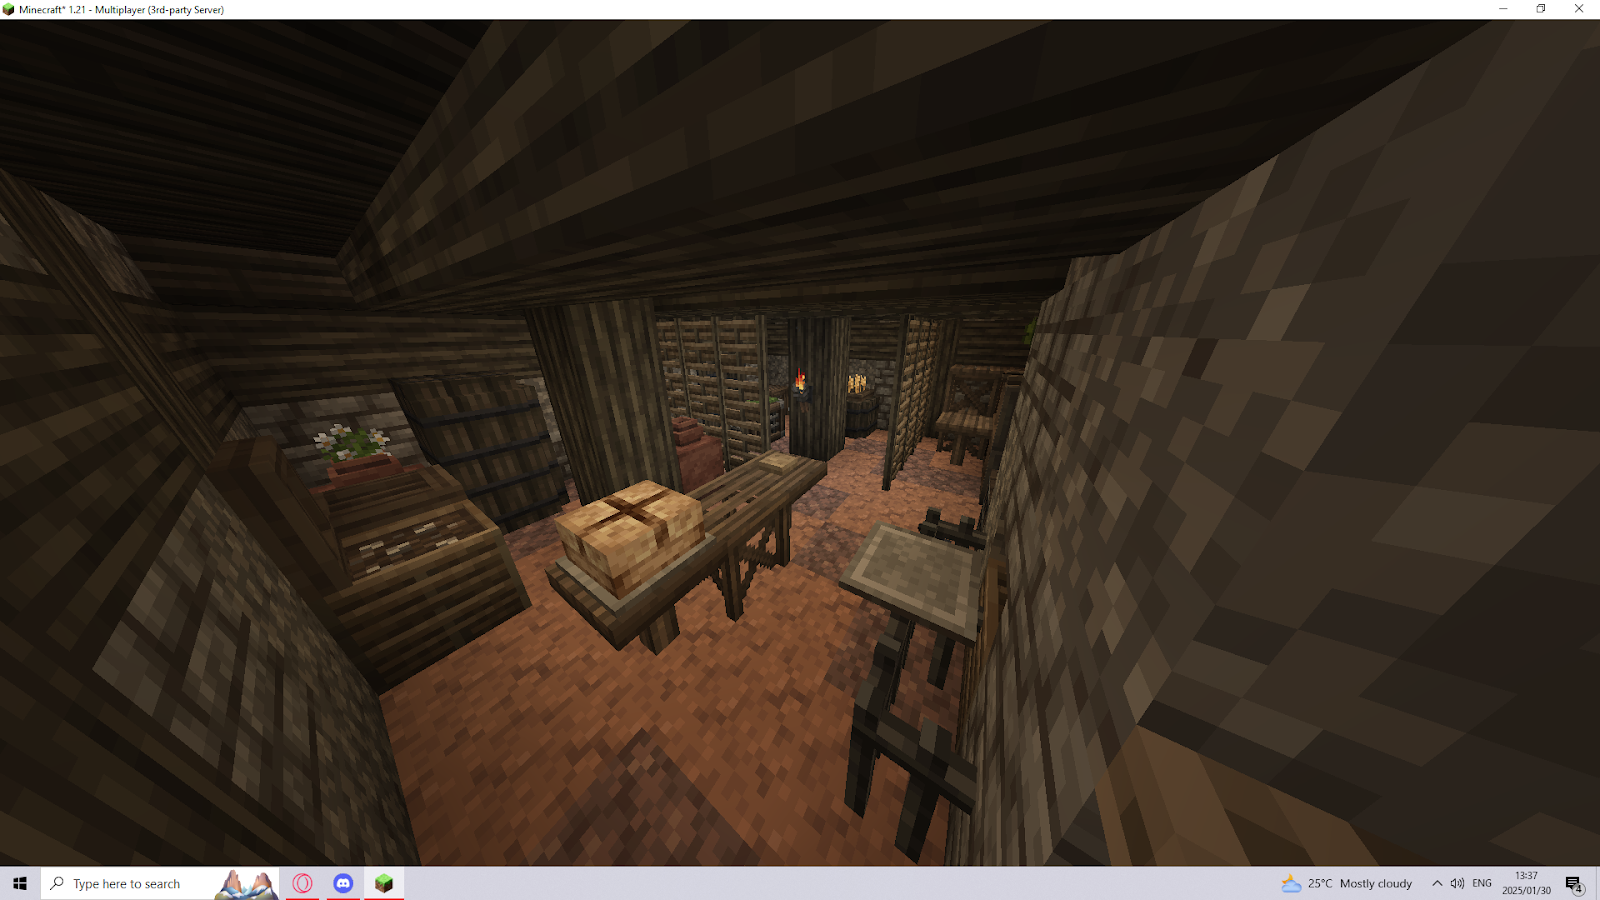
Interior makes up the bulk of details in a town and will significantly contribute to getting higher tiers. In short, without any form of (low or high quality) interior, you will most likely be hard stuck in lower tiers. This means it’s essential to have high quality interior that is also historical and fits the context of the building. This shouldn’t consist of placing the same blocks around in a room (e.g. spamming furnaces/barrels/chests/… ) and calling it interior. Similar to the exterior, each building's interior should have a unique identity and feel realistic, as if a person actively uses that building. Where would they make food? Where would they rest? These are the kind of questions players should ask when designing the interior for any building.
The first example is what would be considered low quality interior. This is due to the fact that the ‘interior’ consists of spamming the same basic blocks all over the place (barrels, furnaces, and chests), whilst also leaving the majority of the room open.
The second example is a drastic improvement, all blocks present are used with the intention to design rooms, such as a kitchen or a living area, leaving no open space in the home and creating a lively atmosphere.
Example of low quality interior Example of high quality interior
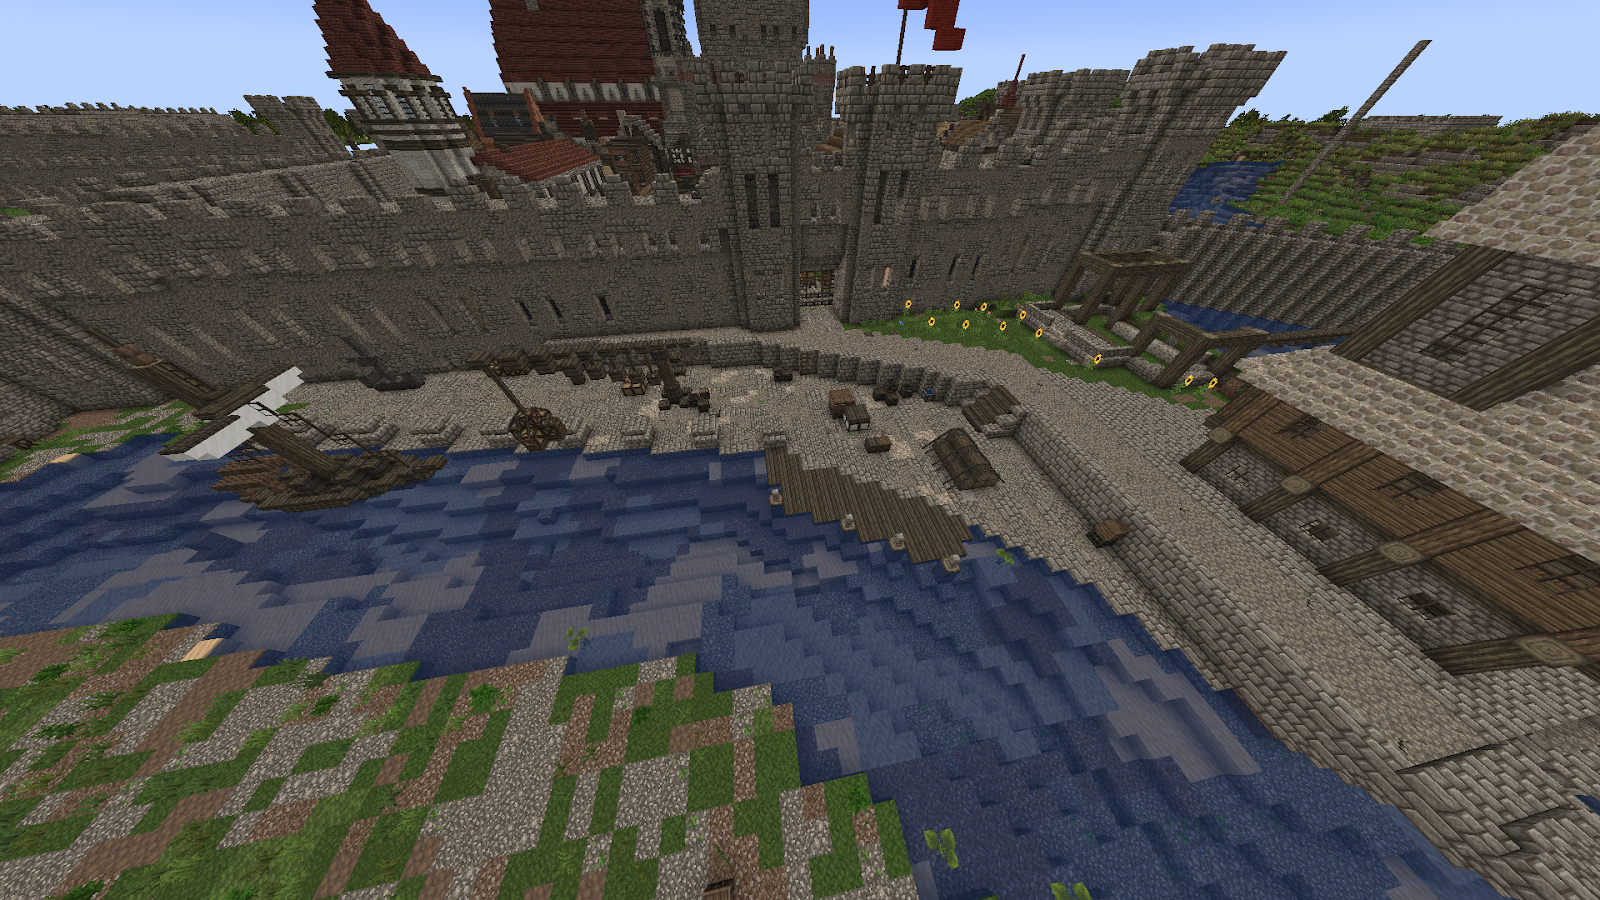
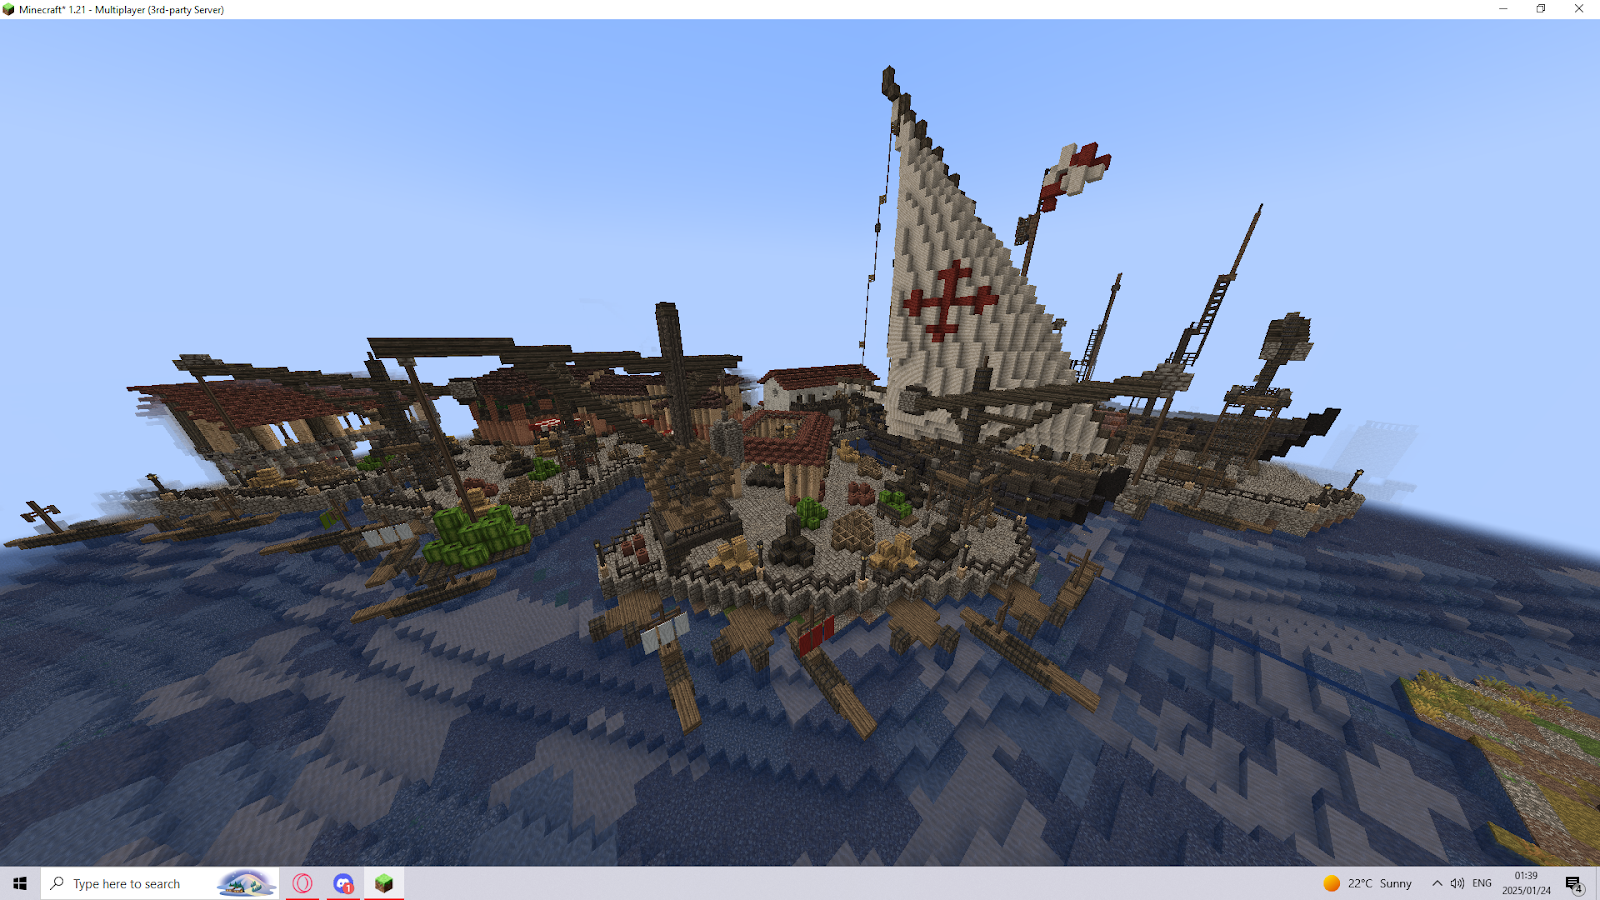
Ports, like walls/defenses, are essential on Crusalis, as they’ll often be used during wars for transportation. The majority of coastal towns will build some form of a port, which will always have an impact on the tier of the town, making it incredibly important to ensure your port is of high quality as not only will it impact your tier, but a low quality port can result in a denial in a port request which may impact your wars.
The first example, the ‘low quality’ port, has the bare minimum of assets and quality: a singular low quality crane, low quality ship, minimal clutter/storage, the absence of any docks, etc. all contribute to why this port is low quality.
The second example is a vast area with countless different sections. It consists of buildings that are used for storage, several high quality cranes, there is plenty of clutter/crates alongside the docks, and a historical ship is present.
With this in mind, players should strive to achieve the same amount of quantity & quality that the second port showcases.
Example of a low quality port Example of a high quality port
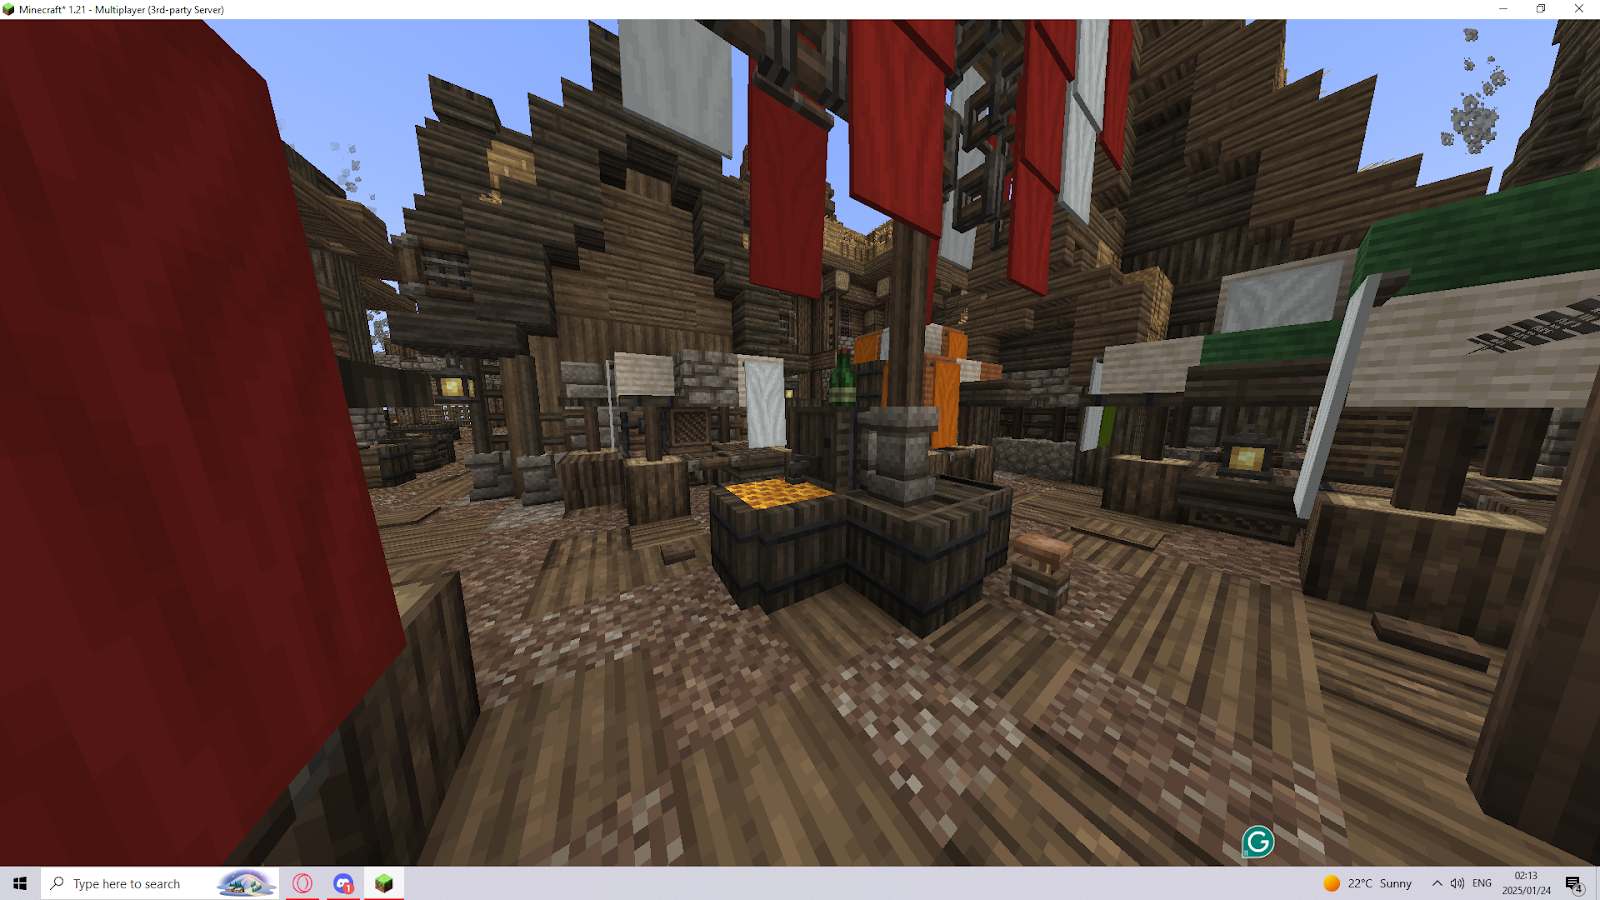
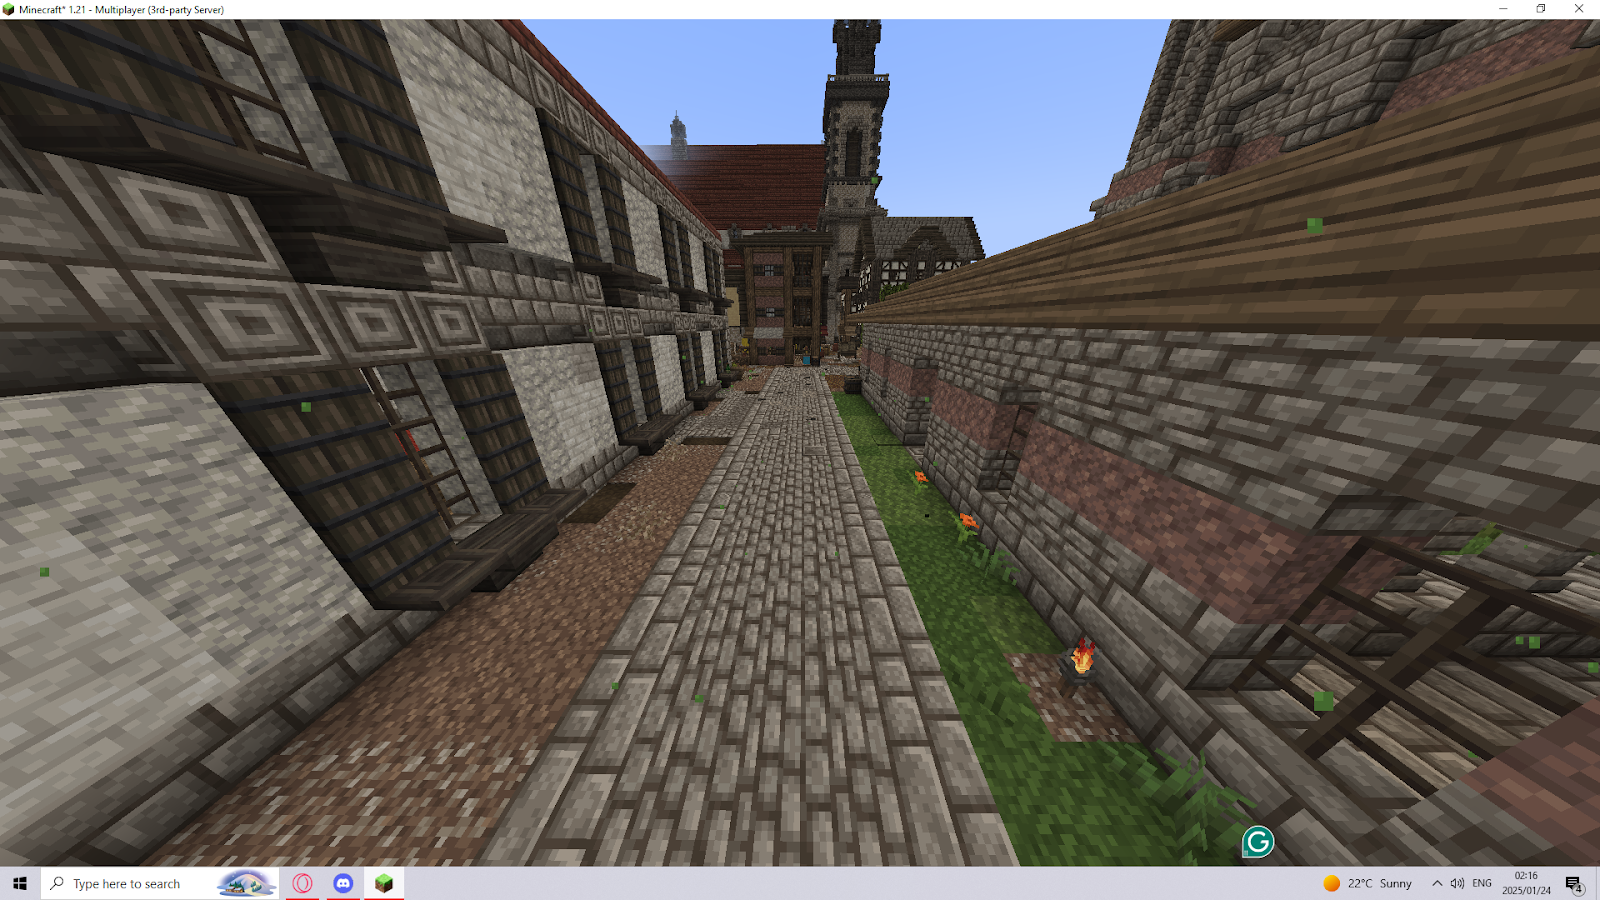
Street decor, just like interior, will also make up a large portion of the detailing in any given town. Every town will have some form of road system, or pathways in between homes and other buildings, making it essential to have some form of decoration, markets or clutter on these roads and paths as to make it feel more lived in and less empty, However, it is also important to balance street decor based on the area and city. A sophisticated city in any era won’t have every street completely crammed as if it were a slum, but there would be plenty of open areas that are still well designed. On the other hand, a bustling market area would. We advise doing proper research on the town you’re building and how its streets and areas would have looked in this department.
The first example is low quality due to the absence of any decor or clutter. It makes the area feel empty and incomplete which leads to the overall town missing out on a lot of potential to get higher tiers due to the incomplete feeling.
The second example on the other hand, feels like a bustling street, filled with market stalls on the sides, banners hung up in between homes, barrels/storage/clutter are present and small pieces of decor that appear as things such as a beer keg. All these things together overall make the street, and by extension the town, feel as if it’s lived in.
Example of a low quality street decor Example of a high quality street decor
This section will mainly apply to historical buildings and unique structures such as forts or castles. These types of buildings will always end up being larger than the rest of the town as a means of standing out and showcasing its importance. However, it is important to keep it both large and in scale with the rest of the town, so it does not end up being unproportional to the rest of the builds present.
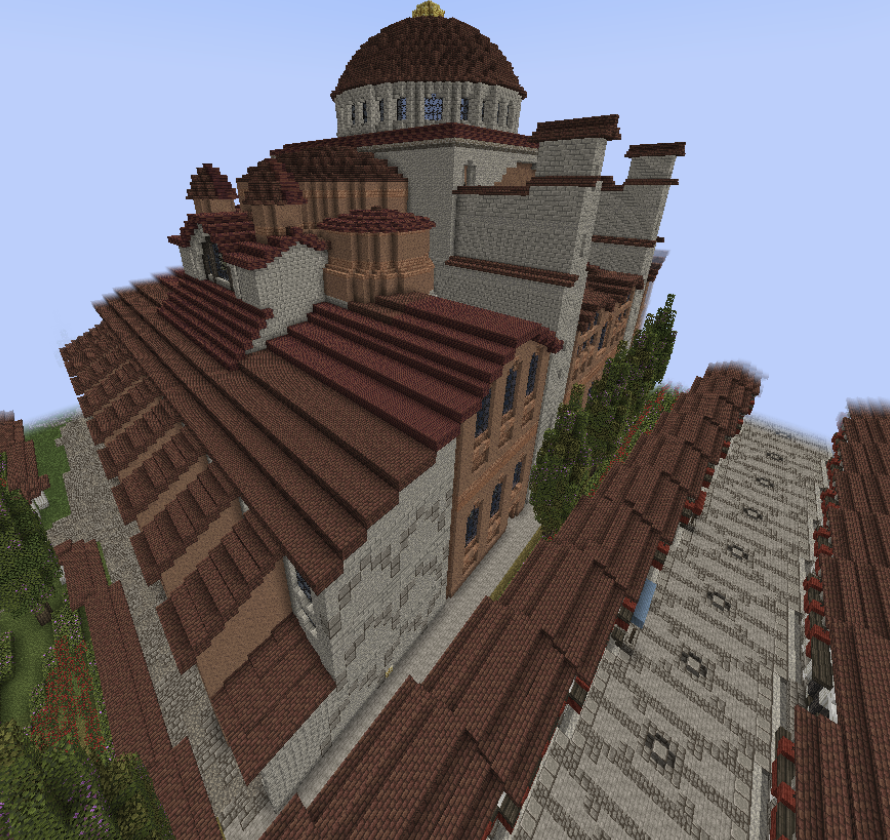
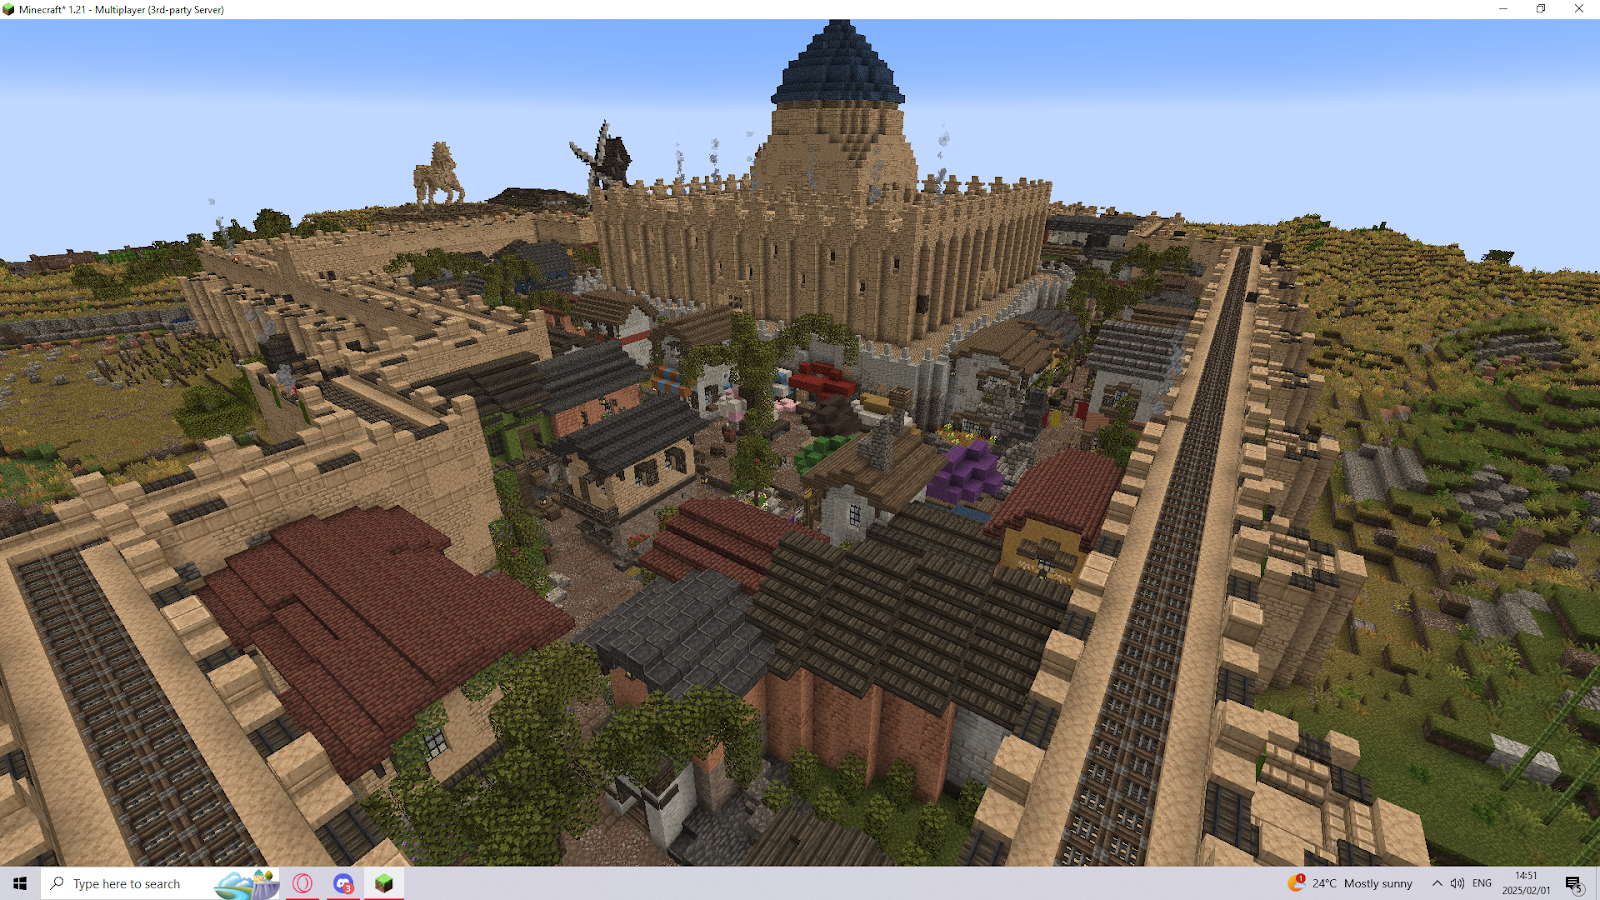
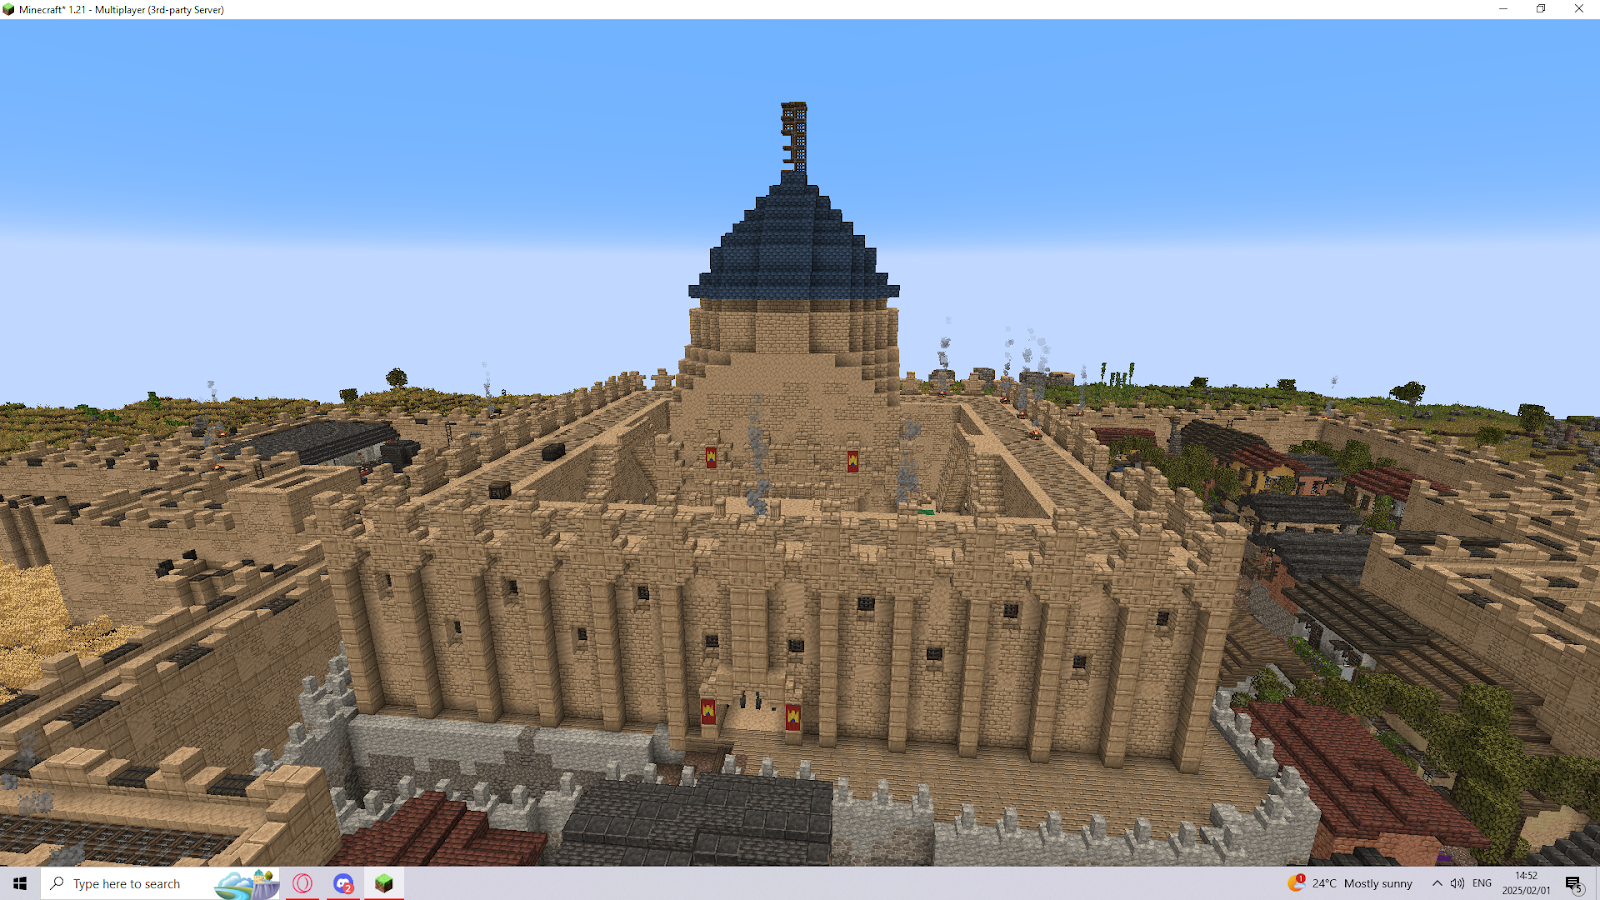
The Hagia Sophia
This build is a good example of a historical building that is in proportion with the rest of the town whilst also keeping the scale of how large it’s meant to be.
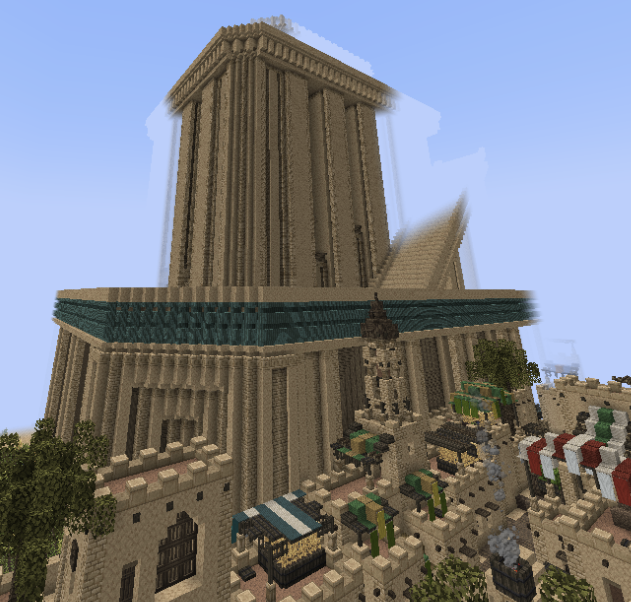
The Mainilos centre structure
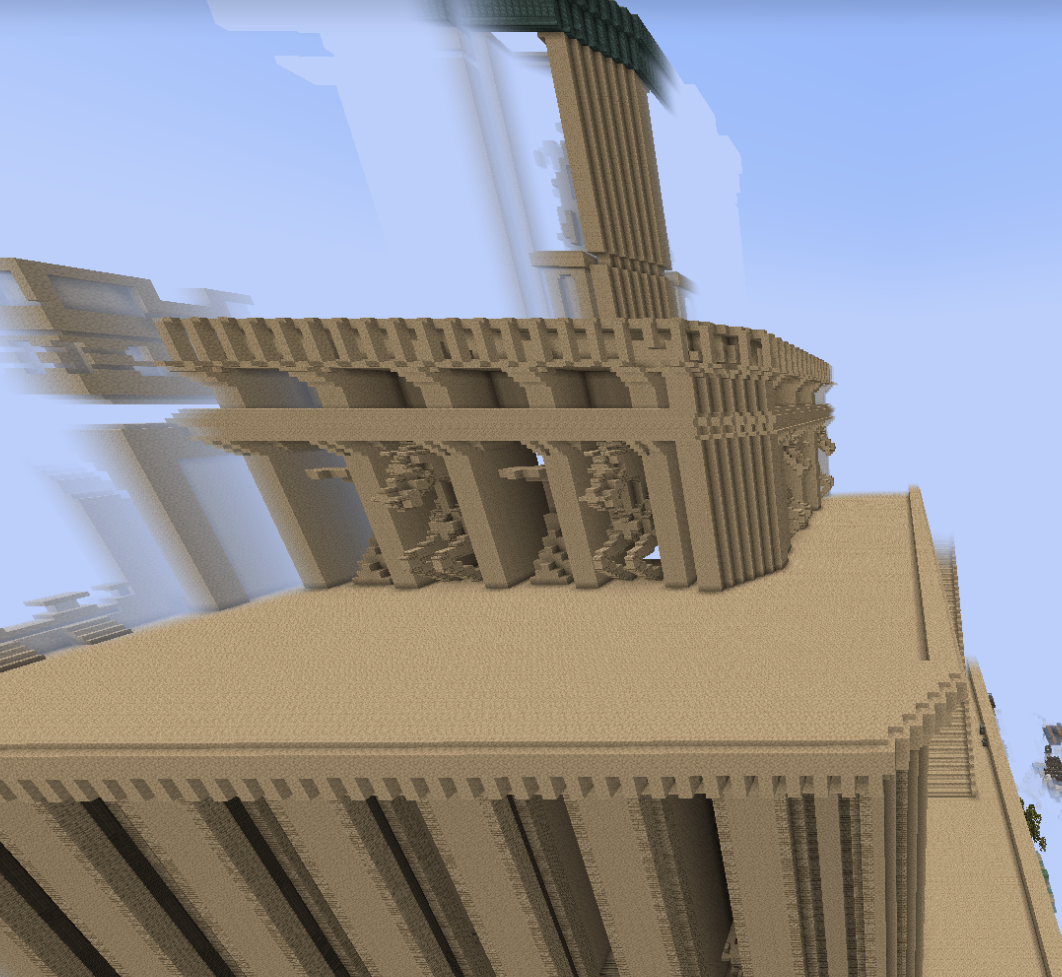
This build, unlike the Hagia Sophia, is abnormally large to the point that the images could not fully render it, alongside the actual town that surrounds it. This leads to the build towering over the rest of the town which is illogical and is something players should avoid with any large structure they are building.
If you have no other options, using online builds and schematics is encouraged.
However, we as Nodesweepers further encourage players to make unique and original builds. Taking creative liberty and making unique structures - that mesh well with historical landmarks or other builds - will always be rewarded with bonus points, as it stands out compared to other towns.
Lower-tier towns showcase either one of two things: the bare minimum of effort put into developing a town or the foundation of a town that has great potential.
In the first case, if a town showcases poor quality, meme forts, meme walls, and is simply not a good town by any standards, but still has some effort put into any of the buildings that are present, it would receive the lowest tier possible that is still appropriate for its effort (T1-T2). However, it most likely won't ever increase in tiers unless the issues mentioned are fixed.
In the second case, the town most likely lacks in the quantity department, being a small area that showcases a fair amount of care in the quality and effort invested. In these lower tiers, it's likely that the town lacks unique or historical buildings, large housing districts, or outer city areas such as villages or farms; however, it is well on its way to adding these areas (T3-T4). This however does not mean that a T3-T4 town’s only issue could be quantity, there could be other visible flaws such as inaccuracies, low quality defenses, etc. but on a much lesser scale than any T1-2 town may showcase.
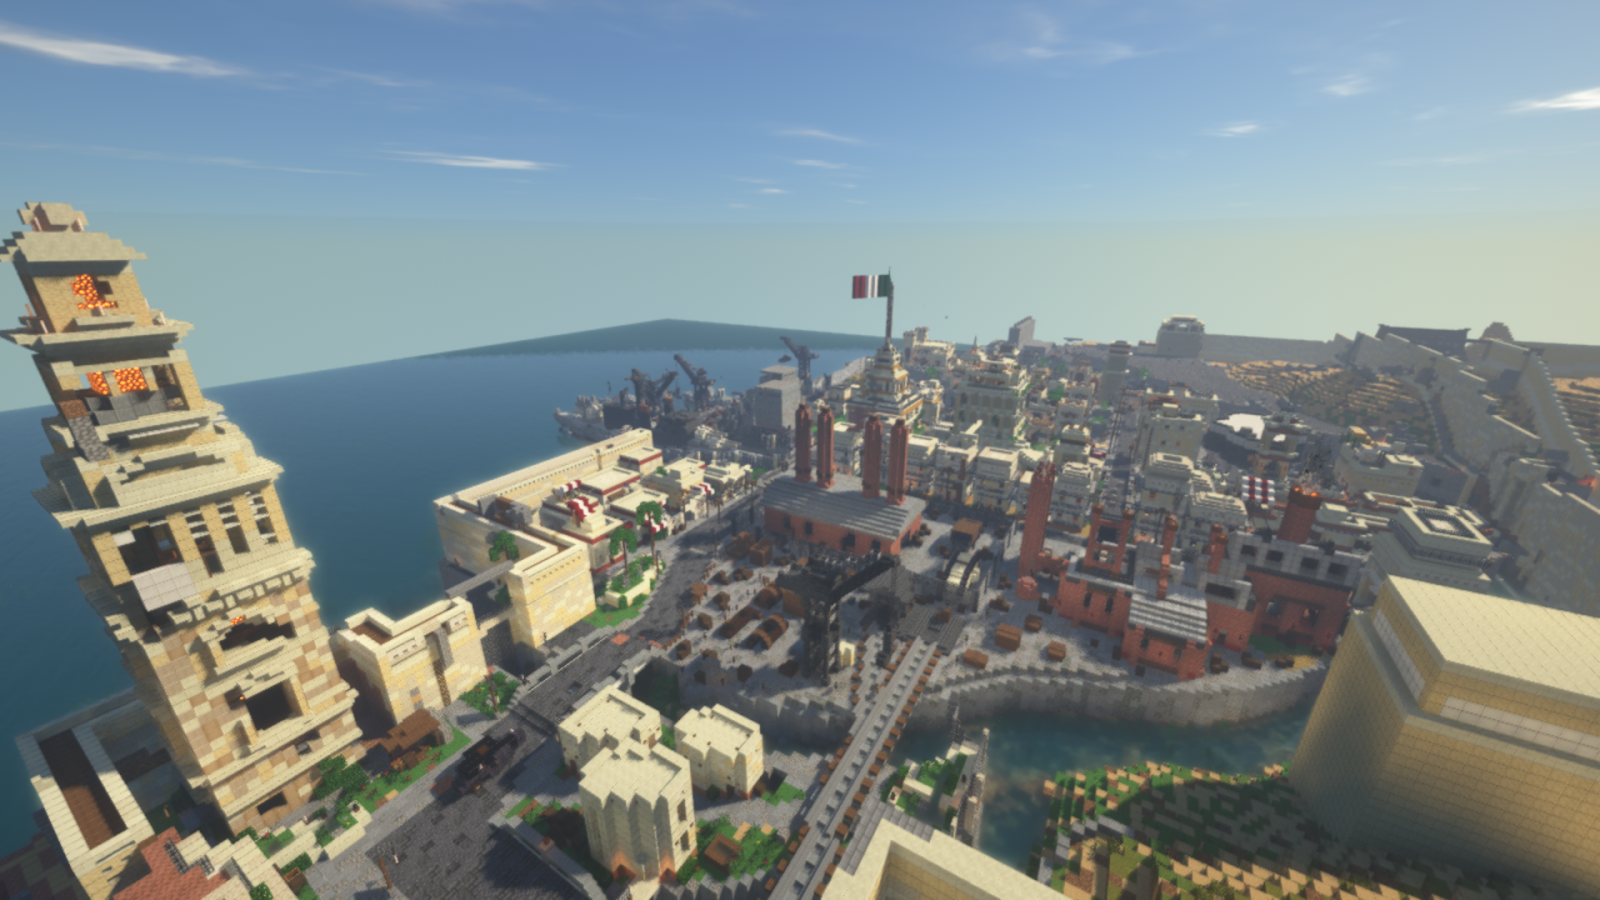
Córdoba, Spain, Tier 4, medieval iteration
Dijon, France, Tier 4, medieval iteration
Middle-tier towns will showcase a huge difference in effort and quality compared to lower-tier towns. Generally, the settlements will be decently or largely sized, with a decent to good indication of quality in all 'Aspects of a Good Town,' have some well-designed unique or historical buildings, and a unique identity to many of the homes. However, it’s very likely that these towns will lack one of the above-mentioned things, or even lack in other areas. The town itself might be too small, have low-quality walls, a lack of historical buildings, or any life/identity to the build which results in majority of the homes and structures all feeling the same, which ultimately drags down the good aspects of the town, keeping it at these middle tiers (T5-T6). These towns should focus their efforts on ensuring a minimum of good quality is present in each area of the town. If a port is present, then the quality should be good, if a castle or palace is present, the quality should also be good, etc. Only when this is done, will towns most likely reach a T7 rating, which will enable them to reach higher tiers.
Latina, Papal States, Tier 7, medieval iteration
These are the highest tiers reachable in Crusalis and are indicators of incredibly impressive and well designed towns. They are often large cities/settlements that are well developed with central structures, large housing districts, markets, ports, and farmlands with a good attention to detail in every aspect of its design.
What will often lead to people being stuck in T8-T9, is the lack of one or a few specific things: either the interior is not perfect, the homes all feel the same and lack identity, there are no outer city areas or the town isn't accurate to its real life counterpart (This does not mean the town is necessarily bad however it simply can’t be deemed as perfect). While T8-T9 is very impressive and the players who achieve this have definitely excelled in many areas of this document, they still need to ask themselves if there's room for improvement. If they look at any given build or area in their town and see potential for improvement, they should invest their time there.
A T10 town needs to be perfect in every aspect and in every area, with no inconsistencies. Each home needs to be complete, lived in and as unique as can be. If possible, the town needs to be accurate to a real-life counterpart with realistic town planning and historical buildings. It needs to ensure the highest possible form of quality in every area that is built.
Tier 10 is an incredibly rare tier that has only been reached 3 times as of the date of the making of this document.
Only when players assure that their town has reached the highest potential possible, can it reach T10.
(Note: Standards change as iterations go on and may become harder. If some older iteration tier 10s seem on a lower level compared to more recent iterations, this is normal.)
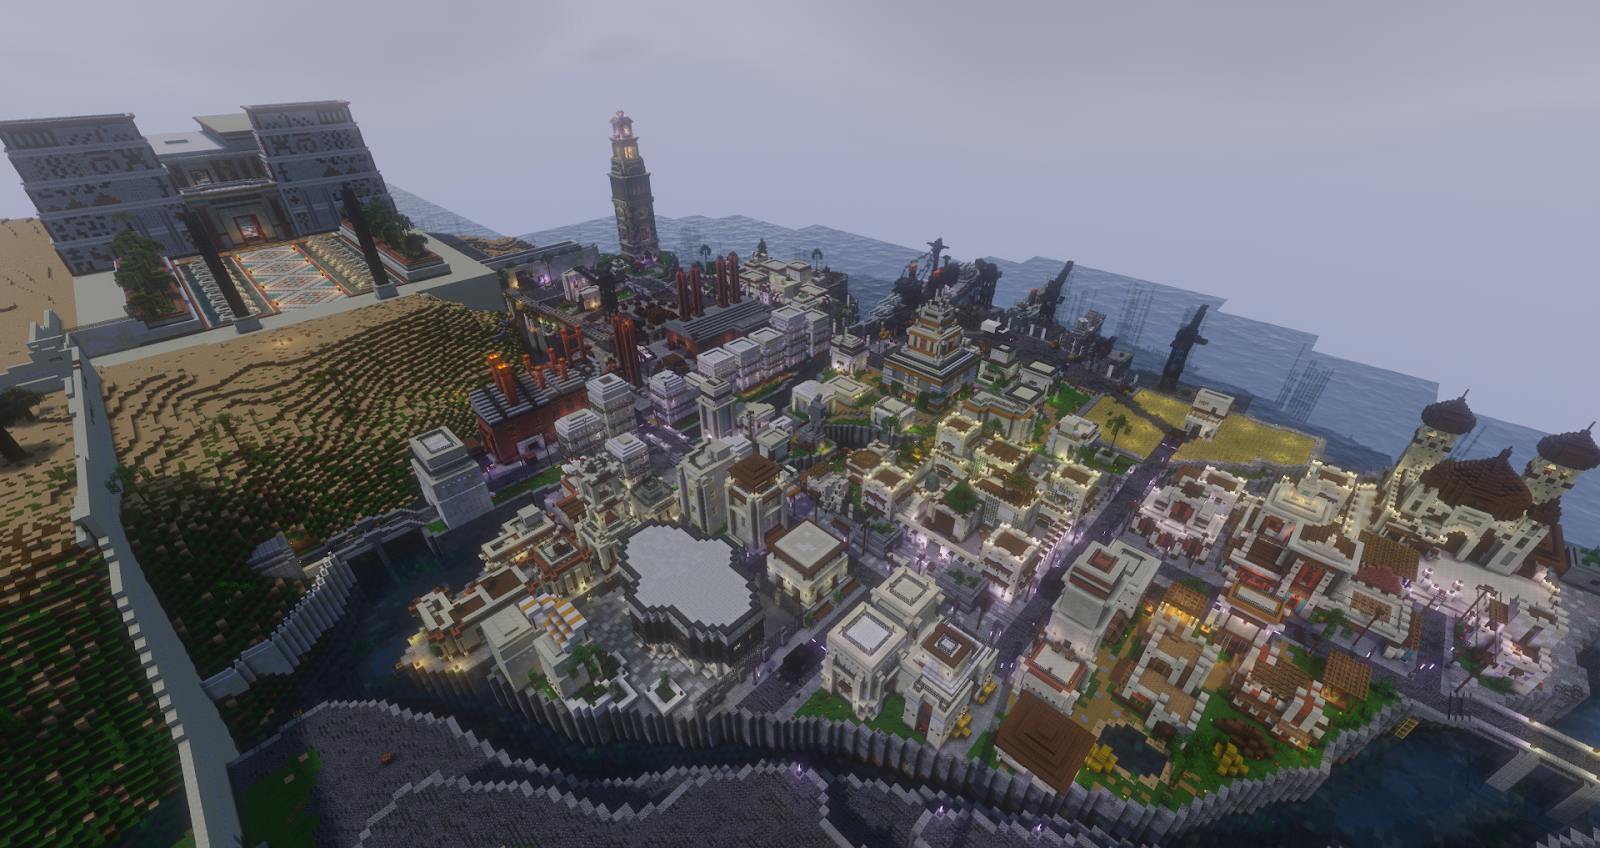
Alexandria, Egypt, Tier 10, WW1 iteration Built by Zenoba!
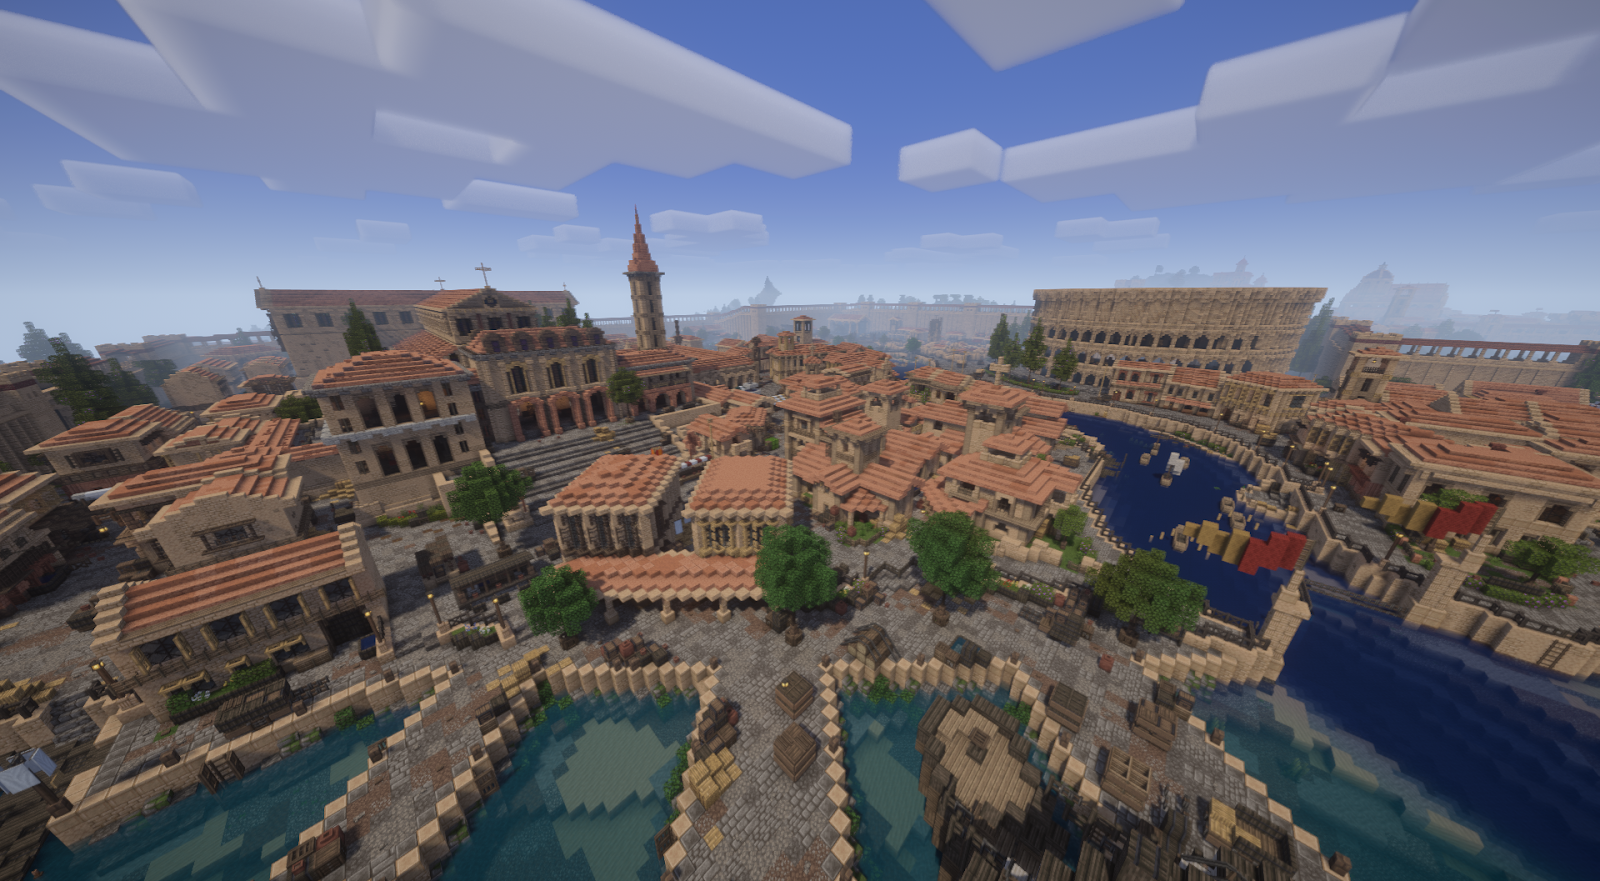
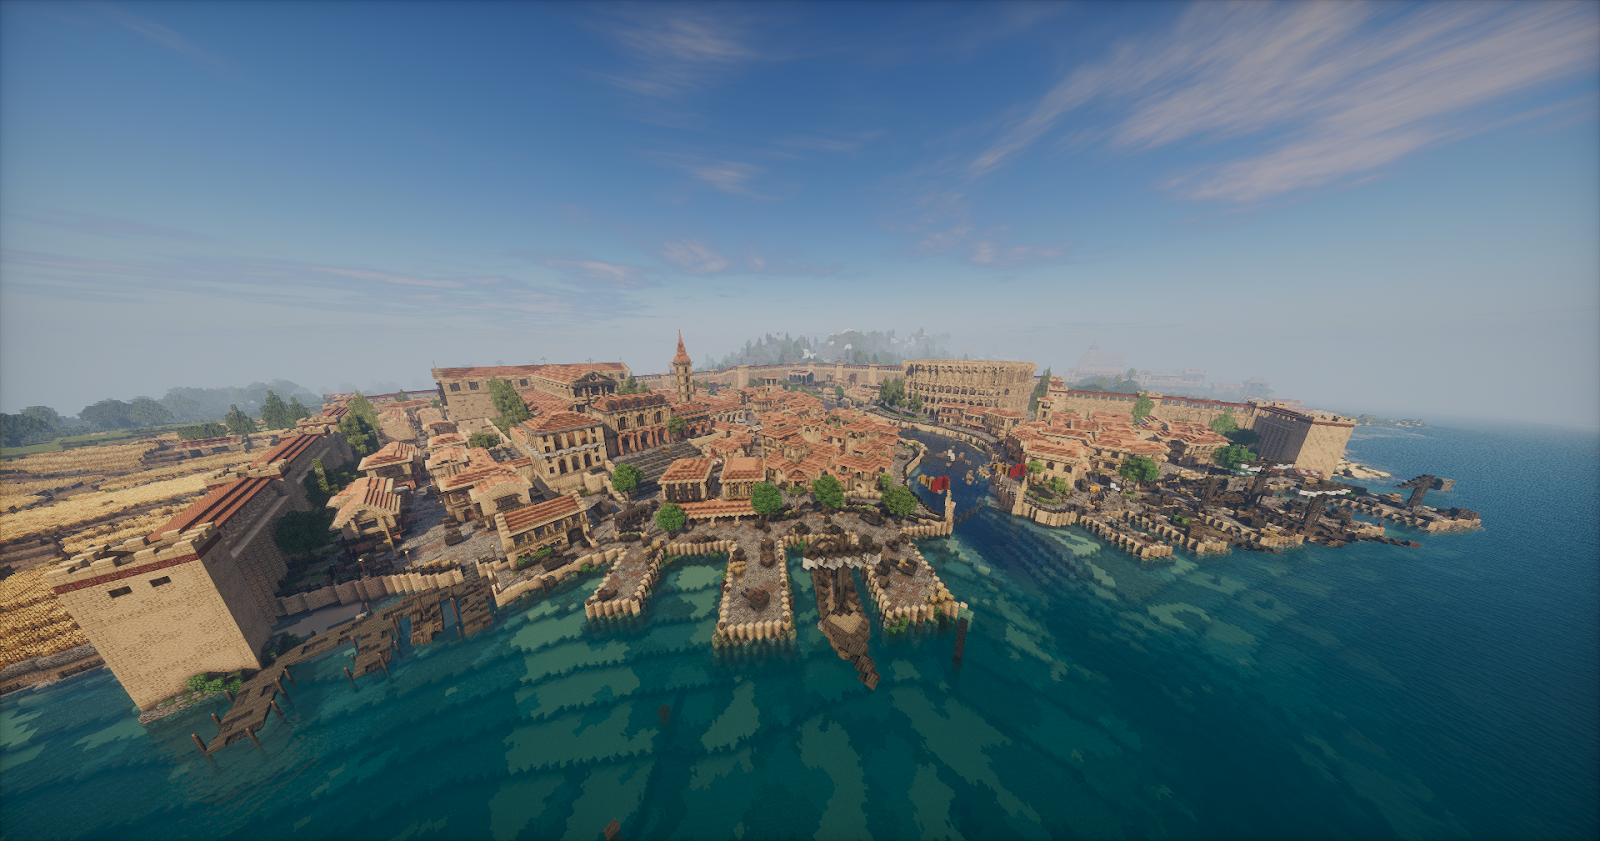
Roma, Papal States, Tier 10, medieval iteration
Burgos, Spain, Tier 10, medieval iteration
If players have any queries or feedback regarding this document or require building advice, then do not hesitate to message Mockas (@z_v_z_v_z)
This serves as a guideline to assist builders and groups, rather than a set of strict requirements.
Crusalis runs a living, player-driven economy built around trade ports. Every port is its own local market with its own prices and its own stock — and those prices move with supply and demand. A good that is plentiful at one port is cheap there; haul it to a port that is short on it and you can sell it for far more. The whole loop is simple: buy low, sail, sell high.
Each market holds a limited amount of every good and slowly restocks over time (roughly every 45–90 minutes). Buying drains the stock and pushes the price up; selling floods the market and pushes the price down. A small buy/sell tax is taken on each trade, and everything is priced in server money.
Stand inside a port to trade. The main commands are:
/market — open the market menu for the port you are standing in/sellhand — sell the item in your hand/sellall — sell your matching stock/sell — sell a specific goodEach port specialises, so learn the map and run the routes that pay:
Goods fall into three groups: raw materials (metals, coal, logs, wool, leather), food (grain, bread, fish, meat and crops), and high-value luxury goods — silk, spices, salt, wine, olive oil, ivory, amber and incense — which move for the most coin if you can source them.
Ports are linked by the ship network. Sail a warship — a caravel, cog, carrack, bireme, trireme and so on — up to a port and you can fast-warp between ports across the map, making trade runs quick once you own a vessel. Founding a brand-new port of your own is reserved for nation and Nodes mayors, so it ties directly into territory.
King of the Hill (KOTH) is a contested-zone event. A hill goes live, and the goal could not be simpler — get inside the zone and hold it. Control the hill for the full capture timer and the rewards are yours. Expect a brawl: anyone can contest the point, and while an enemy is stood in the zone with you, your capture timer stalls.
Each hill is a 60-block zone. You need ten minutes of uncontested control to win it, so clearing enemies out of the circle — and keeping them out — is the whole game. Bring a team and bring supplies.
A global KOTH runs every day at 9:00 PM server time at spawn — it is the big one, with the best payout. The regional hills are run on demand and during special events.
Beyond the daily global event at spawn, regional hills are scattered across the map:
Winners are paid in KOTH crate keys. Take them to the crates to roll for the loot inside — and remember the daily global KOTH hands out the most. Watch announcements for when the regional hills go live.
Status: Avernus is currently being retuned and is temporarily offline. This page explains how it works — it will return soon.
Avernus is Crusalis’s take on hellgates — fast, high-stakes team PvP wrapped around a PvE gauntlet, fought in a separate underworld realm. Gather a team, step through a gate, and you are dropped into an arena to fight for loot.
Avernus is played in small teams — 2v2 by default, with 1v1 and 3v3 also supported. Your team enters a gate and fights through waves of the dead: first cursed knights and archers, then mages and an undead champion, and finally a demon boss. Every enemy you kill banks essence.
If a rival team queues into your gate, it becomes contested. After a short countdown the monsters pause and it turns to PvP — last team standing claims the gate. Win it and the loot is yours, and a reward chest may briefly appear before the arena resets, so grab it fast.
This is high-stakes. If you go down during the PvP phase, some of the gear you drop can be destroyed — so only take in what you are willing to lose.
Winning teams walk away with diamonds, raw gold and raw iron (a PvP win pays more than a clean PvE clear), plus the essence you banked along the way, paid out as coin.
A new Mining Island has opened on Crusalis. Head through the portal at spawn to reach it and stake your claim before everyone else does.
Ore nodes refresh on a timer, and where you mine changes how fast:
A King of the Hill event runs at the centre of the island — hold the hill to claim the rewards. Get in early and stake your claim before it kicks off.
Use the safe-zone warps to get straight onto the island:
/warp SafezoneRI/warp SafezoneRI2/warp SafezoneRI3[ Map / screenshot of the Mining Island to be added here. ]